Create Your Own Garden Sculpture: Artistic Focal Points
The Allure and Value of Garden Sculpture
Garden sculpture brings art into outdoor spaces, transforming gardens into galleries filled with beauty. The appeal of garden art lies in its ability to elevate a landscape beyond the ordinary. Strategically placed sculptures draw the eye and create focal points amid verdant plantings. Much like paintings or decorative objects indoors, outdoor sculptures infuse personality into the garden.
Sculptures crafted from natural materials like stone and wood harmonize with the environment. Abstract, geometric shapes and figurative forms inject artistry. Whether crafted by artisans or personally created, sculpture lends meaning that reflects the interests and passions of the gardener. Beyond visual appeal, art in the garden provides a point of connection and discovery. It engages the senses, sparking imagination and conversation among those who encounter it.
Incorporating sculpture enhances spaces for relaxation, entertaining and reflection. It deepens the garden experience, creating an oasis filled with beauty, meaning and artistic vision. With thoughtful placement and care, artworks crafted for the garden endured for years, imparting lasting joy and inspiration.
Selecting Materials
There are many material options to consider when creating a garden sculpture. Some of the most common materials include:
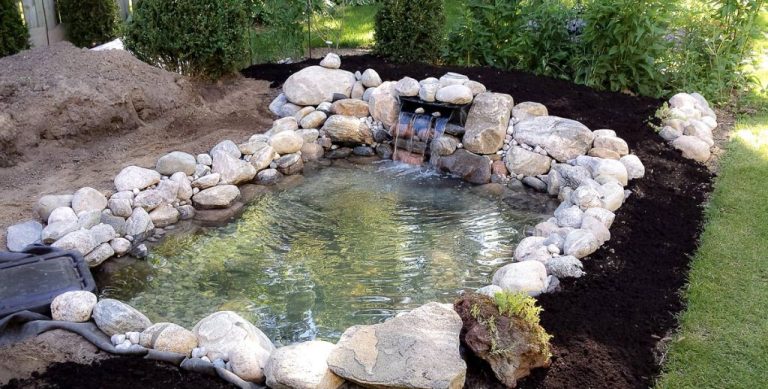
Stone: Stone like granite, marble, and limestone can create beautiful, natural looking sculptures. Stone is durable and weather resistant. However, large stone sculptures can be very heavy and may require special equipment or installation. Stone is also more expensive (source).
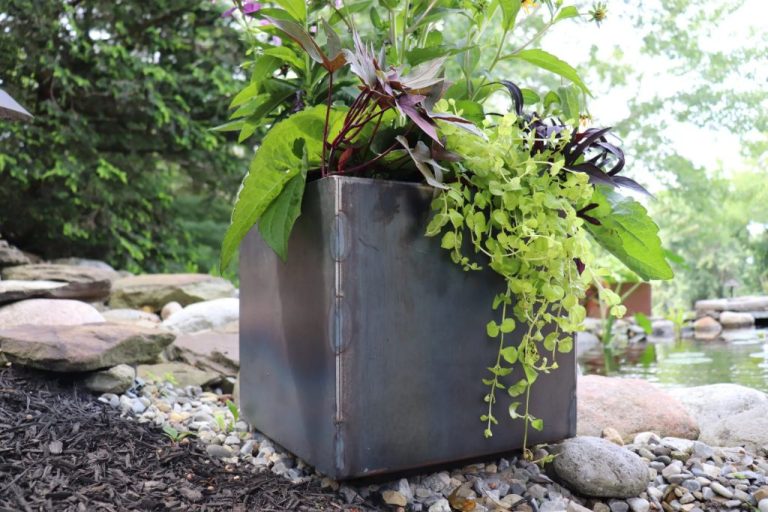
Metal: Metals like steel, iron, and copper are versatile for sculpting free-flowing shapes. Metal sculptures can have a modern aesthetic and many finishes are possible to protect against rust. But metals can be prone to deterioration over time and some can develop unsightly rust stains (source).
Wood: Wood provides a natural, organic look and is easy to sculpt and sand smooth. However, wood requires proper sealing and maintenance to prevent rotting, cracking, or warping from weather exposure. Cedar and redwood have good weather resistance.
Concrete: Concrete allows sculpting intricate shapes but is very heavy. Paint or stains can be applied for different looks. But concrete can develop cracks over time and may not have as refined of a look.
Other options like resin, polymer, terra cotta, and glass offer their own unique properties as well. Consider the level of detail, desired look, placement, and how much maintenance the sculpture will need when selecting materials.
Design Ideas
When planning your garden sculpture, there are many creative design options to consider. Popular choices include animal sculptures like birds, turtles, frogs, and dragonflies which add whimsical charm (https://www.designtoscano.com/product/peaceful+frog+garden+statue+-+hp3437.do). Abstract shapes and forms allow you to showcase unique textures and artistic styles. Sundials make functional garden accents that also reference the passage of time. Gazing balls are classic reflective orbs to grace your garden. You can also sculpt shapes and symbols meaningful to you, like hearts, butterflies, your initials, or religious icons.
Look to your favorite materials like metal, stone, glass, or concrete and consider how they could be transformed into artworks for your landscape. Use items with personal significance like old kitchen utensils, tools, or scrap pieces of wood or metal as the starting point for your design. With creativity and skill, found objects can become cherished works of garden art.
Planning Your Sculpture
Before starting on your sculpture, it’s important to plan out the key details. Consider the size and scale you want for the finished piece. Measure the area where you plan to display it and sketch out ideas to get a sense of the right proportions. Think about the purpose of the sculpture and what meaning or message you want it to convey. Planning these elements will help guide your design.
Make some rough sketches of your sculpture idea. Consider it from different angles and perspectives. Making simple paper or wire models can also help you visualize the 3D form. As you plan, think about how you want people to interact with and move around the sculpture. This will impact the placement in your garden.
Also factor in the materials you plan to use and how that will affect the structure and durability. Refer back to your sketches and models as you work to maintain your original vision. Taking time for planning will ensure your finished garden sculpture has the size, form, meaning and visual impact you intend. For more tips, see the guide on sculpture planning from GardenDesign.com (https://www.gardendesign.com/art/sculpture.html).
Sculpting Techniques
The sculpting technique you use will depend on the material you choose. Here are some common sculpting methods:
For clay, the basic techniques are pinching, coiling, slab building, and throwing on a pottery wheel. Clay is very malleable and forgiving for beginners. Make sure your hands and tools are kept moist while sculpting to prevent sticking and cracking 1.
Stone and wood require more advanced carving techniques using chisels and mallets. First, create a rough shape by chipping away large pieces. Then use finer tools to refine the details. Wear safety goggles and a dust mask when carving 1.
Metal sculpting may involve welding and brazing techniques. Proper protective equipment like gloves and eye protection is essential. Make smooth cuts and bends to avoid weak points in the metal. Use filing and sanding to blend seams and polish the finished piece.
No matter the material, work cautiously and deliberately. Rushed carving can lead to mistakes. Take breaks to evaluate your progress. Pay attention to anatomy and proportions. And enjoy the creative process!
Finishing Touches
Once your garden sculpture is fully sculpted, apply finishing touches to give it the perfect look. There are various surface treatments to consider like paints, stains, and sealants. Paints and stains add color while sealants help protect the sculpture from weathering.
Acrylic paints designed for outdoor use work well on concrete, stone, and metal garden sculptures. They come in many colors and provide good coverage. For a more natural look, consider concrete stains which soak into the surface and have a translucent effect. Make sure to prepare the surface properly before painting or staining.
It’s also important to seal your finished sculpture, especially if it’s made of porous material like concrete or natural stone. Sealers form a protective barrier against moisture and UV rays. Choose a sealer suited for the specific material such as concrete sealers or stone sealers. Apply multiple coats for best protection. Reseal every year or two to maintain the sealant layer.
With the right finishes, your artistic garden sculpture will not just look beautiful but also withstand the outdoor elements. For detailed tips, see guides like this video on painting concrete statues.
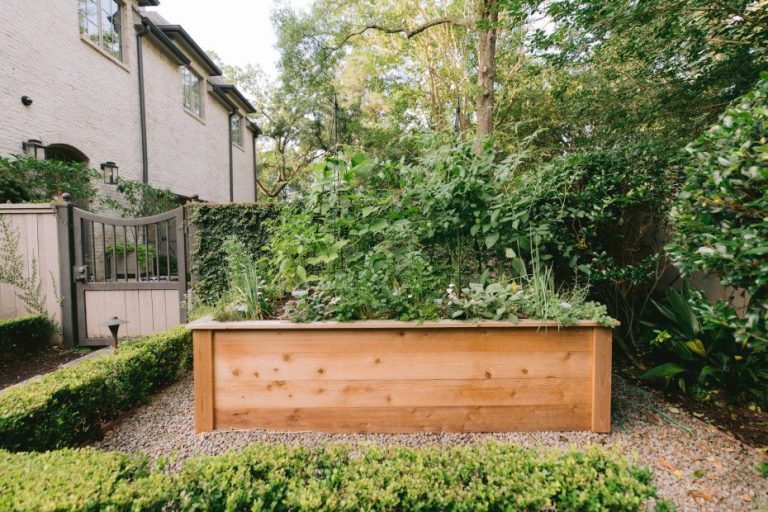
Display and Placement
Where you place your sculpture in the garden can dramatically affect how it is viewed and experienced. Carefully consider the location to maximize the sculpture’s visual impact.
Position the sculpture where it will be visible along key sight lines in your garden. Place it in a prominent central spot or at a corner to draw attention. Using the sculpture as a focal point at the end of a path or vista creates an eye-catching effect. You can also place sculptures among plantings, but avoid allowing them to appear lost or overpowered by the foliage around them.
Elevate sculptures by displaying them on pedestals, columns, shelves, or stacked stone. A raised platform not only enhances visibility but also protects the base of the sculpture from direct ground contact. Tables and plant stands work well for smaller sculptures. For larger pieces, you can build a custom base or low mounting wall to complement the style of the artwork.
Opt for stable, level displays suited for the sculpture’s size and weight. Make sure mounts are resistant to weather and will not deteriorate over time. Pay attention to the overall proportions, allowing enough room around the sculpture so it does not appear crowded or unstable. With thoughtful placement and display, your garden artwork will draw admiration from everyone who visits your garden.
Adding Meaning
Personalizing your garden sculpture with an inscription, plaque, or written description can add deeper meaning and connect the artwork to your garden’s theme. Consider engraving a meaningful date, quote, or poem on the base or surface of the sculpture. Cast metal, stone, concrete, and wood sculptures work well for engraving. You can also attach a small plaque or sign with words or images that reflect the sculpture’s significance.
For example, a sculpture with plant or nature motifs could include a quote about gardens. Or, for a sculpture given as a memorial, have the person’s name and relevant dates engraved on a plaque. Even a simple “Est. 2022” inscription marking when a sculpture was installed can make it more meaningful. Let your creativity run wild when adding personalized text or imagery to give your garden focal point added significance.
Caring for Sculptures
Proper care and maintenance is crucial for ensuring your garden sculptures last for years. Different materials require specialized cleaning methods and upkeep.
Cleaning Tips
For general cleaning, mix a nonionic cleaner like Spic and Span with water and a small amount of spot-free dishwasher soap. Use a soft cloth to gently wipe away dirt and grime. Avoid using wire brushes or other abrasive materials that could scratch the sculpture. For tough stains on concrete or stone, a poultice made from talcum powder and hydrogen peroxide can help lift the stain when left to sit for 24 hours. Always test cleaning solutions on an inconspicuous area first.
For metal sculptures, use a specialty metal polish and protectant to restore shine and prevent future corrosion. Wax-based sealants also help protect wood sculptures from weathering.
Maintenance by Material
Stone and concrete sculptures are durable but still require sealing to prevent staining and cracking. Reapply sealants annually. For metal art, check regularly for rust and immediately sand and touch up with matching paint if needed. Terracotta and ceramic pieces are more delicate and prone to chipping if left outdoors year-round in freezing climates. Consider displaying them as seasonal accents or protecting them with sealants. With proper care, your garden sculptures can stay beautiful for many years.
Inspiring Examples
Garden sculptures can breathe new life into a backyard space and provide delightful focal points. There are so many inspiring examples of creative, artistic sculptures that can help spark ideas for your own project. Let’s look at a few beautiful backyard sculptures.
This elegant leaf sculpture made from bent branches adds a soft, natural touch to the garden landscape (Source: Pinterest). The curved shapes mirror the lines of leaves and branches in nature.
An old bicycle can be upcycled into a creative sculpture like this fun frog, accented with colored mosaic tiles and perched among the flowers (Source: Pinterest). Upcycling found items is an eco-friendly way to make unique art.
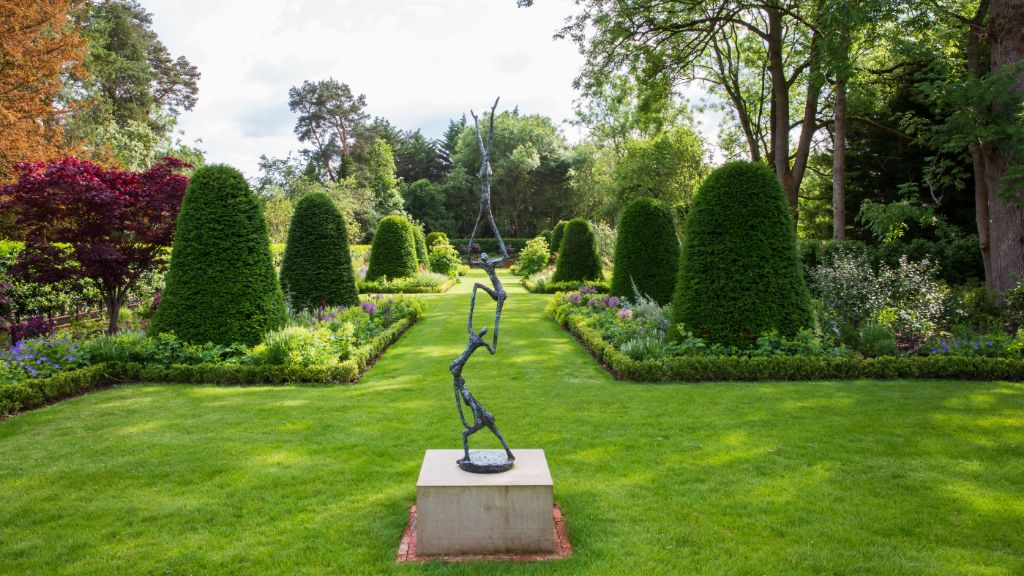
Abstract sculptures made from wood, metal, or stone blocks make striking garden accents. This stacked stone sculpture has an organic, rough-hewn look contrasting with the meticulous evergreen hedges (Source: Pinterest).
Sculptures can also be whimsical and playful, like this rabbit made from twisting branches emerging from an old stump. It brings an element of surprise and delight (Source: Pinterest).
There are endless possibilities for infusing your own personal vision and creativity into a garden sculpture project. Find inspiration in nature, upcycled materials, abstract shapes, and fun themes to make your backyard uniquely yours.