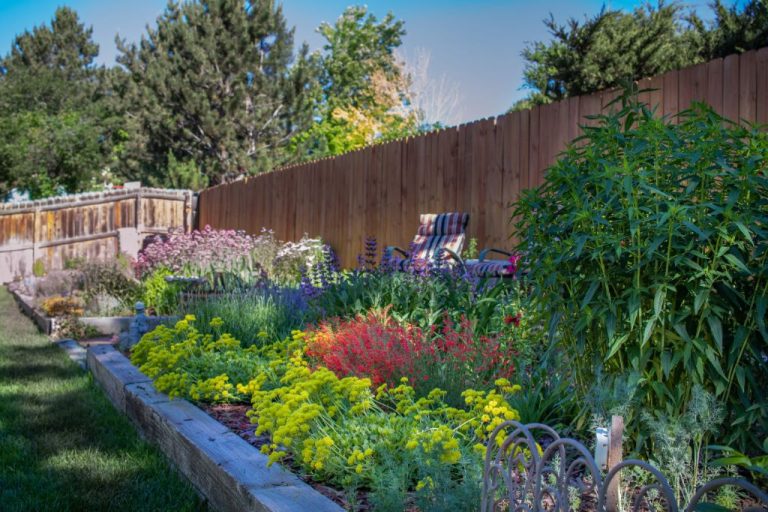
How To Build A Raised Garden Bed: Step-By-Step Guide
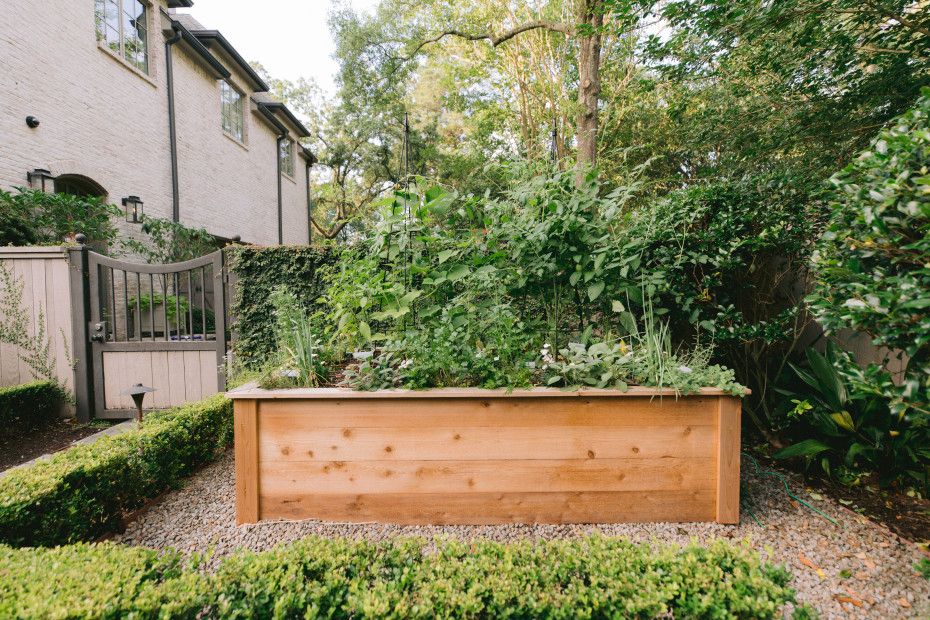
A raised garden bed is an elevated planting area made using vertical structures that contain soil. Beds are typically built from wood, stone, or brick and are filled with a soil mix that is often amended with compost or other organic matter to improve fertility and drainage. Raised beds offer many benefits compared to traditional ground-level garden beds, including:
- Improved drainage – The loose, nutrient-rich soil mix in a raised bed improves drainage, reducing problems with wet, compacted, or clay-heavy soils.
- Easier maintenance – Raised beds reduce the need to walk on the growing area, preventing soil compaction. They eliminate the need for rototilling each season.
- Extended growing season – The loose soil in raised beds warms more quickly in spring than in-ground soil, allowing for earlier planting.
- Higher yields – The excellent drainage and aeration provided by raised beds enable plants’ roots to grow strongly, leading to healthier, more productive plants.
- Accessibility – Elevated beds make gardening possible for those who have difficulty bending or kneeling.
- Weed and pest control – The contained environment of raised beds makes weeding easier and improves control over pests.
By building a raised bed, you can create the ideal growing conditions for vegetables, flowers, herbs, and other plants. This allows gardeners to maximize yields and growing success even in sites with poor native soil.
Planning Your Raised Bed
When planning your raised bed, one of the most important considerations is choosing the right location. Look for a spot that gets at least 6 hours of direct sunlight daily. The south side of structures is ideal to prevent too much shade (Homes and Gardens, 2023). Positioning the beds near fences or walls can also help maximize sunlight exposure (Almanac, 2022).
Determine the size and dimensions of your raised bed based on available space and what you want to plant. Standard sizes range from 3×3 feet up to 4×12 feet. Make sure to leave enough room around the beds to allow you to care for the plants. The typical recommended height is between 12-18 inches, which provides good depth for root growth.
Consider how many beds you need. Experts suggest starting small with just 1 or 2 beds, especially for beginners. You can always expand and add more beds over time as your experience grows (Gardenary, 2022). Plan out placement so the beds are organized and make sense for your space.
Materials Needed
There are several common materials used to build raised garden beds such as:
Wood
Wood is a popular choice as it’s an inexpensive and easy material to work with. Cedar and redwood are rot-resistant types of wood that make good raised bed options. Pine is cheaper but will deteriorate faster. Make sure to use untreated, non-toxic wood to avoid chemicals leaching into the soil (Choosing the Best Materials for Raised Garden Beds).
Metal
Galvanized steel and aluminum are durable metals suited for raised beds. Look for food-grade metals without coatings. Metals conduct heat well for season extension (Best Materials for Raised Garden Beds).
Stone
Stone, brick, or concrete block can create attractive raised beds that will last for years. Avoid using porous materials like limestone that may leach minerals into the soil.
Recycled Materials
Get creative and recycle materials like old dressers, bathtubs, or stock tanks into unique raised bed planters.
Tools Needed
Building a raised garden bed requires just a few basic tools that most DIYers likely already have on hand. The main tools you’ll need include:
- Saw – A miter or circular saw works well for cutting the wood to size. Make sure the blade is sharp to ensure clean cuts. [1]
- Hammer and nails – Standard framing nails between 2 to 3 inches long are ideal for assembling the raised bed frame. Use a claw hammer or power nailer to drive the nails into the wood. [1]
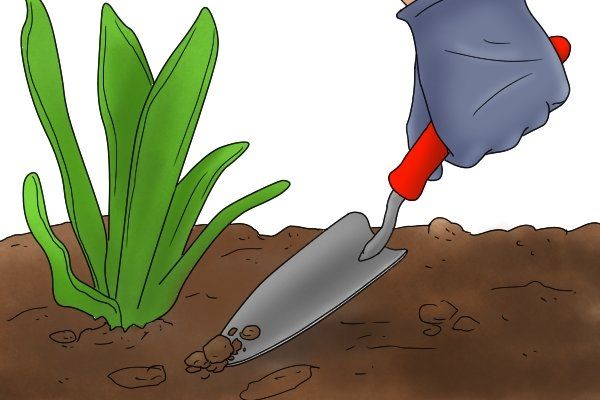
- Shovel – Use a round point shovel to dig out and level the area where you’ll place the raised bed.
- Level – A 4-foot level is handy for checking that the raised bed’s frame is level and square as you assemble it.
Having these essential tools on hand will make constructing a raised garden bed a smooth process. If you’re missing anything on the list, a quick trip to the hardware store will have you equipped with everything you need.
[1] https://www.lowes.com/n/how-to/how-to-build-a-raised-garden-bed
Building the Frame
The first step in constructing the raised bed frame is to cut the wood to the desired lengths. Use a miter or circular saw to cut the boards to size. Cut two long boards to the length of your bed, and cut two shorter boards to the width of your bed. Make sure the corners are cut at 45 degree angles so they fit together properly in a square or rectangular frame shape.
Once the boards are cut, attach them together to form the frame. Use exterior wood screws or galvanized nails to connect the boards at the corners. Drill pilot holes first to prevent the wood from splitting. Secure the corners tightly so they don’t separate over time. Check that the frame forms a complete square or rectangle without any gaps between boards according to your plan (Source).
If desired, you can add additional supports on the inside of the frame using short scraps of wood to reinforce the structure. Place these halfway down the length of each side. Predrill and screw them into place. The inner supports will add stability and prevent bowing of the sides over time.
Once the basic frame is built, flip it over onto its side to attach the remaining boards to form the sides of the raised bed.
Attaching the Sides
Once you have all of your supporting sides cut and ready, it’s time to attach them to the frame. The most secure method is to use exterior-grade screws to attach the sides to the frame. Predrill holes to prevent the wood from splitting. Place screws every 12-16 inches along the edges where the sides meet the frame.
Alternatively, you can use galvanized nails. Space the nails about 12 inches apart. Pre-drilling pilot holes is a good idea with nails as well to prevent splitting. Hammer the nails into the frame to attach the sides through the pilot holes.
Make sure the corners are square by measuring diagonally between opposite corners – the measurements should be equal. Once all sides are attached, double check that the structure is level and square.
Lining the Bed
Lining your raised garden bed helps prevent soil from washing away between the slats or boards of the frame. It also blocks weed growth inside the bed. Popular options for lining raised garden beds include:
Plastic: Plastic sheeting such as polyethylene plastic is an inexpensive and effective choice. Make sure to get U.V.-stabilized plastic sheeting, which is designed for outdoor use. Cut the plastic a few inches longer than your bed frame on all sides. Place the plastic inside the frame, making sure it goes up the sides. Secure it in place by attaching boards. Plastic liner is durable and long-lasting.
Landscape fabric: Landscape fabric is another common lining material for raised beds. Opt for a heavyweight, UV-stabilized fabric designed for garden use. Cut the fabric to be several inches larger than your frame on all sides. Landscape fabric allows more water and air permeability than plastic sheeting. However, it may not last as many seasons before needing replacement.
Filling the Bed
The soil is one of the most important components of a raised garden bed. Choosing the right soil ensures your plants have the proper nutrients and drainage they need to thrive. There are several options when it comes to filling your raised bed:
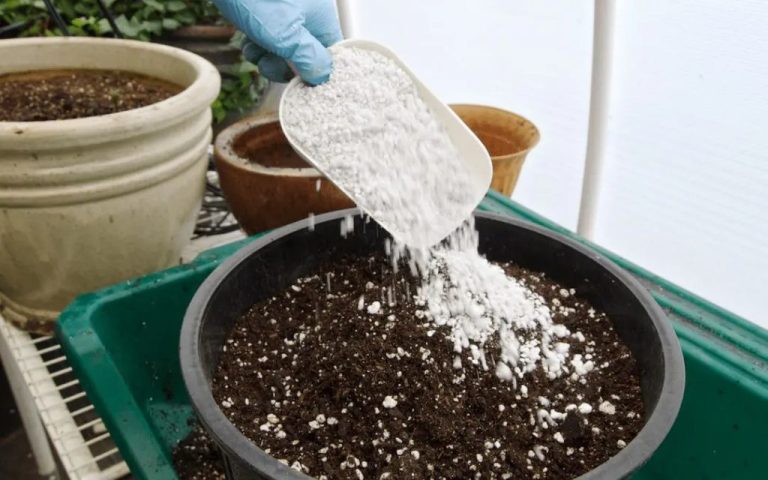
A soil blend specifically formulated for raised beds is a great choice. These mixes contain a combination of topsoil, compost, and materials like peat moss or coir to improve drainage and moisture retention. According to gardenary.com, brands like Miracle Gro offer raised bed soil mixes that are lightweight and enriched with nutrients for optimal plant growth.
You can also create your own custom soil blend. Aim for a mix of about 1/3 compost, 1/3 peat moss or coir, and 1/3 sterilized garden topsoil or loam. Make sure the topsoil doesn’t contain any weed seeds that could invade your garden bed. Adding compost improves nutrient levels while the peat moss helps with moisture control and aeration.
In terms of depth, most vegetables grow best with about 12-18 inches of soil. Shallow-rooted greens and herbs can get by with 8-12 inches. Go with the full 18 inches for root crops like carrots and potatoes. The deeper the soil, the more room plants have to establish roots and access nutrients and moisture.
Optional Features
There are many ways to customize and enhance your raised garden bed to make it even more functional and aesthetically pleasing. Here are some popular options to consider:
Trellises allow vining crops like cucumbers, beans, tomatoes and peas to grow vertically, saving space and facilitating air circulation. You can install a trellis along the inside or outside of the bed frame using materials like bamboo, metal fencing, or wooden lattice (Source). Secure it firmly and make sure it is tall enough to support mature vines.
Protective covers like hoops, fabric row covers, plastic sheeting, or cold frames shield plants from temperature extremes, pests, diseases and heavy rain. Covers made of PVC pipes, flexible steel rods, or wood can be anchored into the soil or fastened to the sides of the raised bed frame (Source). Clear plastic sheeting or fabric row covers allow sunlight through while protecting plants.
Companion planting utilizes strategic plant combinations to maximize garden space. For example, planting tall crops like tomatoes on the north side of shorter herbs and leafy greens utilizes vertical space efficiently. Interspersing flowers among vegetables attracts pollinators. Grouping plants with complementary nutritional needs avoids excessive competition.
Planting and Maintaining
Once your raised garden bed is built and filled with soil, it’s time to start planting. First, decide what types of plants you want to grow. Popular choices for raised beds include vegetables (tomatoes, lettuce, carrots), herbs, flowers, and strawberries.
Make sure to follow recommended planting guidelines for spacing and depth when sowing seeds or transplanting seedlings into your bed. You may need to stagger plantings over several weeks for crops like lettuce so you have a continuous harvest.
Raised beds require more frequent watering than traditional gardens since they tend to drain faster. Aim to water most vegetables about 1-2 inches per week, adjusting for rainfall. Use a wand attachment on your hose or a watering can to target the soil and avoid wetting plant leaves.
Weeding will also be an ongoing task. Weeds compete with your plants for water and nutrients, so it’s important to pull them promptly. Adding mulch can help suppress weeds. Be careful not to damage roots when weeding in a raised bed since plants are closer together.
With the right care and maintenance, your raised garden bed will provide a bountiful harvest!