Homemade Compost Bin: Easy Diy For Nutrient-Rich Soil
Composting is the process of converting organic waste into a rich soil amendment through the action of microorganisms, insects, worms, and other decomposers (EPA). It’s an efficient way to reuse yard trimmings and food scraps while producing a free, nutrient-rich fertilizer for your garden. Homemade compost improves soil structure, increases moisture retention, and adds beneficial microbes to the soil.
Building a compost bin in your backyard allows you to recycle yard and food waste on-site. The basic materials needed are wooden pallets or boards to construct a frame, and wire or mesh to contain the compost pile. You’ll also need organic materials such as leaves, grass clippings, straw, and food scraps to create your compost mix. With minimal effort, you can produce batches of homemade compost to nourish your garden soil.
Choose a Compost Bin Design
There are a few common types of compost bin designs to choose from:
Tumbler
Tumbler compost bins are sealed drums that rotate on an axis to mix and aerate the compost. According to Gardeners.com, tumblers make compost faster than other designs thanks to improved air flow. However, their capacity is limited compared to stationary bins.
Wire Mesh
Wire mesh compost bins are typically cylinder-shaped and made of wire fencing or hardware cloth. They allow for good air circulation but may not keep rodents out as well as other enclosed designs, per Lomi. Wire mesh bins can work well for composting larger amounts.
Wood Pallet
Compost bins made from wooden pallets are inexpensive and easy DIY options. According to Gardeners’ World, they allow oxygen in while keeping pests out. However, they may not be as durable as plastic bins over time.
Multi-Chamber
Multi-chamber compost bins have separate compartments for stages of decomposing material. As Gardeners.com notes, this allows you to more easily manage batch composting. However, they take up more space than single bin designs.
Select a Location
Choosing the right spot for your compost bin is an important first step. Consider the following factors when picking a location:
Sunlight: Your compost pile needs warmth and sunlight to help break down materials quickly. Aim for at least 6 hours of direct sunlight per day. Avoid overly shady areas.
Drainage: Good drainage is key to prevent your compost from getting waterlogged. Choose a level spot of ground, and avoid low-lying areas that can collect water.
Convenience: Pick a spot near your home or garden for easy access when adding materials. You’ll use your finished compost close by too.
In terms of space, allow about 3×3 feet for a single compost bin. This gives enough room to turn and mix the contents. For multiple bins, space them 2-3 feet apart for easy access. Keep bin(s) at least 1 foot from fences or walls.
Popular choices are next to a storage shed, against a back fence, or tucked into a garden corner. Just ensure it gets ample sun and air flow all around.
Gather Materials
To build a simple wooden compost bin, you will need the following materials:
- Untreated or rot-resistant wood boards, pallets, or posts for the frame (enough for all 4 sides)
- Wood screws, bolts, or nails for assembling the frame
- Landscape fabric, chicken wire, or hardware cloth to line the interior walls (enough to cover all 4 sides)
- A cover or lid made from a tarp, plywood, old carpet, or straw (to retain heat and moisture)
Many of these materials can be sourced for free or cheaply:
- Scavenge untreated pallets, boards, or posts from construction sites, neighbors, or local businesses.
- Use scrap hardware cloth, chicken wire, or fabric from around the house.
- Make a lid from an old tarp or carpet destined for the landfill.
- Purchase any additional materials needed from your local hardware store or home improvement center.
If you want an easier project, you can build a compost bin out of a plastic trash can or wire mesh tub that requires fewer materials and less work.
Build the Compost Bin
Building your own compost bin is a straightforward DIY project. Here are step-by-step instructions for constructing a simple wooden compost bin:
Safety first! Be sure to wear gloves, eye protection, and other appropriate safety gear when using power tools.
- Cut four pieces of rot-resistant wood (like cedar) for the sides. Cut two pieces that are 3 feet long and two pieces that are 3 feet wide for a 3×3 foot square bin. The height of the boards can vary based on preference, but 2-3 feet high is common.
- Predrill holes and screw the boards together at the corners to form a box shape. Make sure the corners are square.
- Cut a piece of hardware cloth or chicken wire to fit across the bottom of the bin. This will provide airflow and drainage.
- Attach the hardware cloth to the bottom of the bin using a staple gun or small nails.
- Cut a piece of wood for the lid. The lid should be slightly smaller than the top opening of the bin.
- Attach hinges to the lid and side of the bin so the lid can open.
- Seal any cracks or holes in the bin using caulk to keep pests out.
Be sure to choose a level, well-draining location for your compost bin. Elevating it slightly off the ground will improve airflow. Your homemade compost bin is now ready for materials!
For more detailed instructions, refer to this excellent DIY guide: https://www.thespruce.com/compost-bin-plans-4769337
Prepare the Base Layer
The base layer of your compost bin is important for proper drainage. According to Planet Natural, laying down a coarse material layer first can help with airflow and drainage of excess moisture in your compost pile. Twigs, corn cobs, thick stalks from vegetables, and other fibrous materials are recommended for the base.
Having a base layer can also prevent compost from leaching nutrients into the soil beneath the bin, according to Carry on Composting. The twigs and coarse materials can make turning the compost pile a bit more difficult, but aids in aeration and prevents dense clumps from forming.
Overall, it’s recommended to use twigs, corn cobs, stalks, or other coarse, fibrous materials about 6-12 inches deep for your compost bin’s base layer. This helps with drainage, aeration, and preventing nutrient leaching into the soil.
Add the Initial Mix
The initial mix that goes into your compost bin is crucial for starting the composting process off right. You’ll want an ideal ratio of brown (carbon-rich) materials to green (nitrogen-rich) materials.1 This brown to green ratio should be around 2:1 or 3:1 by volume.
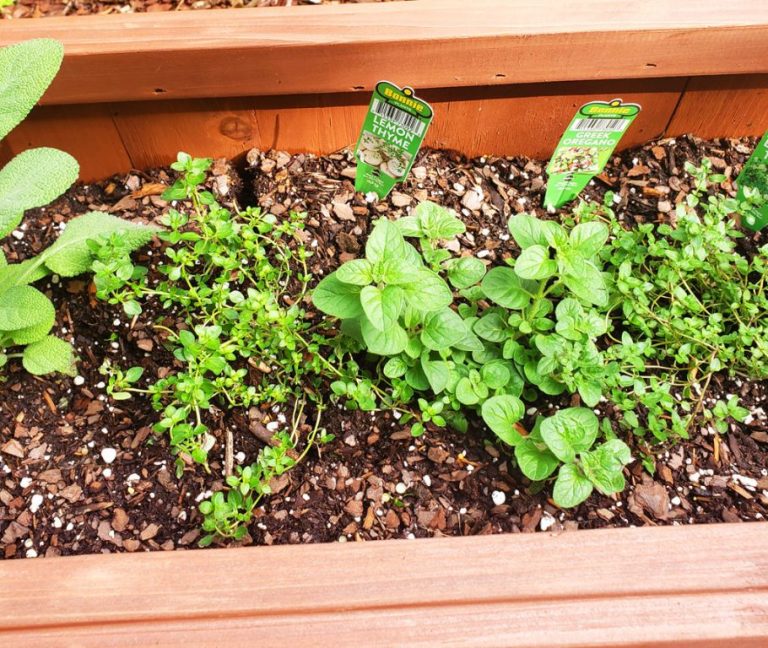
Brown materials provide carbon and include things like dried leaves, shredded newspaper, cardboard, sawdust, and woodchips. Green materials provide nitrogen and include fresh grass clippings, fruit and vegetable scraps, coffee grounds, and manure. Make sure to avoid adding meat, oils, animal products, diseased plants, and invasive weeds which can negatively impact your compost.
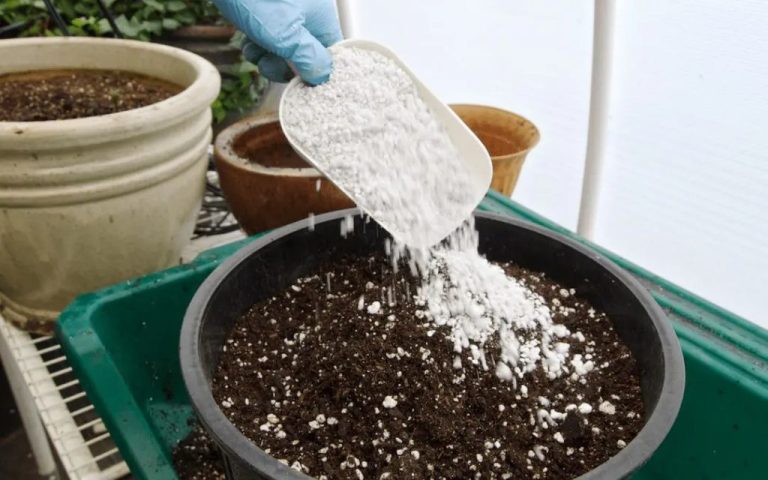
In addition to browns and greens, adding a compost starter can give your compost pile beneficial microorganisms that will help kickstart the decomposition process. Good options for starters include compost from a previous pile, commercial compost starter products, or even just a bit of soil. Only a small amount is needed when first building your pile.2
Mixing browns, greens, and a starter together in the right ratios and adding some moisture will give your compost bin the ideal initial mix to get composting underway.
Maintain Your Compost
Properly maintaining your compost pile is crucial for efficient decomposition. There are three key factors to manage:
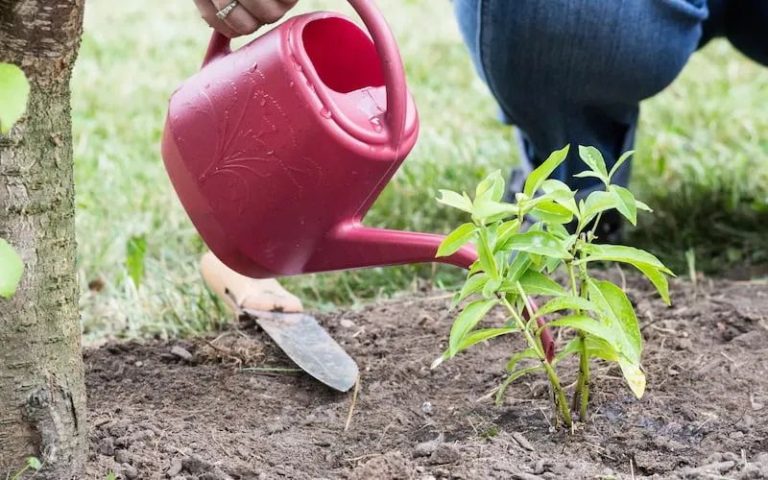
- Moisture: The materials should feel damp like a wrung-out sponge, but not soaking wet. If it’s too dry, add water. If it’s too wet, add brown materials like leaves or cardboard to absorb excess moisture. Adequate moisture supports microbial activity.
- Aeration: Turning the pile introduces oxygen to support aerobic bacteria. Use a pitchfork or compost aerator tool to turn over and mix up the materials. How often you turn depends on the system. Turn hot active piles at least every 2-3 days. Turn passive piles every 2-4 weeks. More frequent turning speeds decomposition.[1]
- Temperature: An active hot pile can reach over 140°F internally during decomposition. Temperatures over 130°F kill pathogens and weed seeds. Monitor temperature with a compost thermometer. If it drops below 110°F, turn and add nitrogen-rich greens or moisture to reheat it.
By managing these three factors, you’ll create optimal conditions for fast, efficient composting right in your backyard.
Know When It’s Ready
There are a few signs that indicate your compost is finished and ready to use:
- Dark color – Finished compost will be dark brown or black, similar to soil or potting mix. Lighter brown compost may need more time to break down fully.
- Crumbliness – Compost should break apart easily and crumble in your hand. Hard lumps or pieces mean it needs more time.
- Earthy smell – Mature compost has an earthy, dirt-like aroma. Unpleasant odors mean it’s still decomposing.
- No original materials – You shouldn’t see any recognizable food scraps, leaves, or other ingredients. Everything should be broken down.
- Temperature – Finished compost is barely warm or at ambient temperature. Active compost heats up during decomposition.
If your compost pile doesn’t seem ready after several months, it may need troubleshooting:
- Turn and mix the pile to introduce more oxygen.
- Add a nitrogen source like grass clippings to improve breakdown.
- Loosen and fluff up dense, compressed areas.
- Make sure the pile maintains consistent moisture, not too wet or dry.
- Cover with a tarp if exposed to excessive rain or sun.
With the right conditions and occasional turning, homemade compost typically finishes within 3-12 months. Patience leads to nutritious “black gold” for your garden!
Use Your Compost
When the compost has a dark, soil-like appearance and smells earthy, it’s ready to harvest. To harvest finished compost from a DIY bin:
Start by taking out the side slats of your bin and pushing the compost pile to one side of the bin structure. Using a garden fork or shovel, scoop out the finished compost into a wheelbarrow or bucket. Screen the compost to remove any large chunks of materials that haven’t fully broken down yet, then return the undecomposed pieces to the compost bin to continue breaking down.
Your nutrient-rich homemade compost has many uses in the garden and yard. Here are some of the top ways to utilize compost:
– Mix 1-3 inches of compost into garden beds and flower beds before planting. Compost boosts soil health and provides nutrients for plants. Source
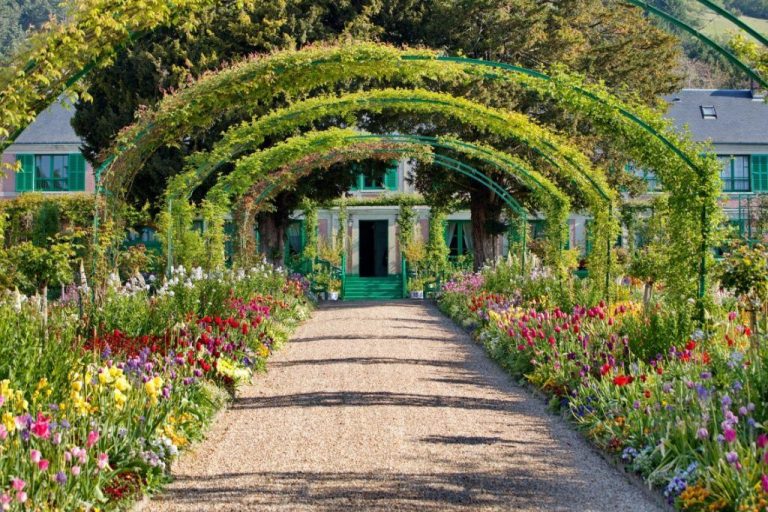
– Spread 1-2 inches of compost around trees, shrubs, and perennials as mulch to suppress weeds and retain moisture. Rake lightly into the top inch of soil. Source
– Use compost as a topdressing for lawns by applying a 1/2 inch layer over the grass. This adds nutrients for the lawn. Rake lightly to incorporate.
– Mix compost with potting soil for container gardening at up to 20% compost by volume. This provides nutrients for potted plants.
– Make compost tea by steeping compost in water, then use the nutrient-rich tea to water plants.