Upcycled Garden Decor Ideas: Turn Trash Into Treasure
Upcycling is the process of transforming discarded materials or waste into something of higher value and quality. It involves taking something old and giving it a new purpose through creativity and imagination.
Upcycling benefits the environment by reducing waste and the need for new materials. According to a source, upcycling reduces CO2 emissions by 3-4 pounds for every pound of material reused. Upcycling also allows people to express their creativity and individuality through unique, handcrafted creations.
This guide will provide DIY ideas for upcycled garden decor using common recycled or repurposed materials like plastic bottles, tires, tools, and dishware. Transforming trash into creative and colorful yard art is an eco-friendly way to decorate your outdoor space.
Gather Materials
When upcycling for the garden, the possibilities are endless for the types of household items and discarded materials that can be repurposed into unique decor. Get creative when gathering supplies! Here are some ideas to consider:
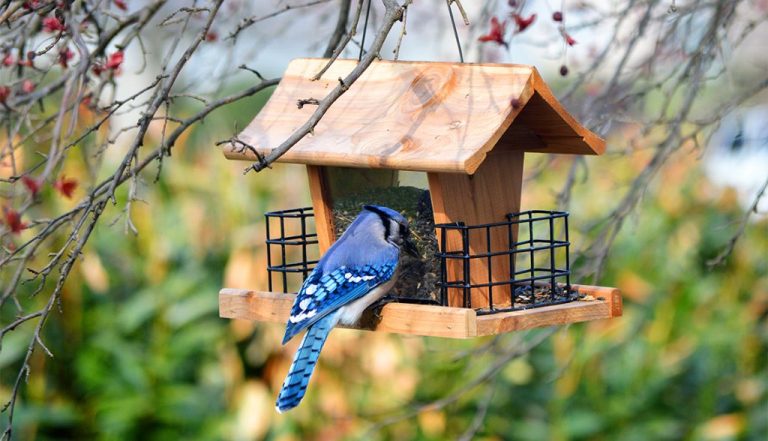
- Plastic bottles – These come in a variety of colors and can be cut into planters, bird feeders, or decorative features.
- Old tires – Tires can be painted and stacked to make planters, swings, and other fun structures. Just be sure to clean them thoroughly first.
- Broken pottery and dishware – Use shards and pieces to make mosaic stepping stones or whimsical sculptures.
- Cutlery – Forks, spoons and knives can add a playful touch when partly buried in planters or decorating pathways.
- Broken garden tools – Turn old shovels, rakes, and shears into art by repurposing the heads or handles.
- Scrap wood – Leftover wood can make signs, trellises, raised beds and more. Get those saws ready!
Browse garage sales, thrift stores, and home storage areas for inspiration. Upcycling is all about seeing everyday items in a new light. With a bit of creativity, you can repurpose just about anything into unique garden decor! For specific project ideas, keep reading.
Plan Your Design
Coming up with a cohesive plan and theme is crucial when creating DIY garden decor projects. Start by thinking about the overall look and feel you want for your garden space. Do you want a whimsical, fairy garden theme? Or perhaps a more rustic, farmhouse look? Draw some rough sketches or look online and in gardening magazines for inspiration. Having a vision in mind will help guide you when choosing materials and coming up with designs.
It’s a good idea to measure your garden area and make a simple layout of where you want to place different decor pieces. This will help prevent wasting materials on projects that end up not fitting the space properly. Think about arranging your garden decor in pleasing vignettes or clusters, rather than scattering objects randomly. Pay attention to height, color and texture to create an attractive and harmonious design.
Focusing your DIY garden decor around a specific theme or style will give it a polished, purposeful look. Planning the layout ahead of time ensures you don’t overlook any areas or waste materials and effort. A bit of upfront preparation goes a long way for DIY garden decor success. For specific project inspiration, check out the garden decoration ideas at https://www.thespruce.com/garden-decor-ideas-7374726.
Clean and Prepare Materials
Before beginning your upcycling projects, it’s important to properly clean and prepare your recycled materials. Here are some tips:
- Remove any labels, stickers, or tape. You can use a hairdryer to heat glue and peel off labels more easily.
- Wash plastic, glass, and metal materials with warm, soapy water. Use a scrub brush to remove grime and dirt.
- Sand rough edges on materials like wood, plastic or metal. Start with a coarse grit sandpaper and move up to a finer grit for a smooth finish. Wear gloves and a mask to avoid inhaling dust.
- Soak ceramic materials like plates or tiles in a tub of warm water to loosen any caked-on material. Use a plastic scrub brush or scouring pad to clean the surface.
- Spray paint materials like plastic bottles or tin cans if you want them to have a more uniform, clean appearance. Use spray primer first for better paint adhesion.
- Wipe down any dirty surfaces with rubbing alcohol to remove oils, grime, or soap residue.
Taking the time to properly clean and prepare recycled items will help your finished garden art last longer and look more cohesive when displayed together. Avoid using broken glass or any material with sharp, ragged edges that could cut someone.
Upcycle Plastic Bottles
Plastic bottles are one of the most common household items that can be repurposed into unique garden decor. With a little creativity, leftover soda, water, or juice bottles can be transformed into decorative planters, wind chimes, bird feeders, and more.
To make plastic bottle planters, you will need:
– Clean plastic bottles
– Scissors or knife to cut bottles
– Potting soil
– Seeds or small plants
Cut the bottoms off the bottles so they are about 6 inches tall. Punch a few drainage holes in the bottom with a nail. Fill with potting mix and add your plants or seeds. Arrange the bottle planters together for a fun upcycled garden!
For a wind chime, use scissors to cut bottles into long strips. Hang the strips at varying lengths along a piece of driftwood or a metal bar. Add beads or seashells for visual interest. Hang your plastic bottle wind chime in a breezy area of the garden.
With just basic tools and leftover bottles, you can give trash new life and add artful touches to your garden. Get creative with shapes, sizes, and arrangements for your own unique plastic bottle creations.
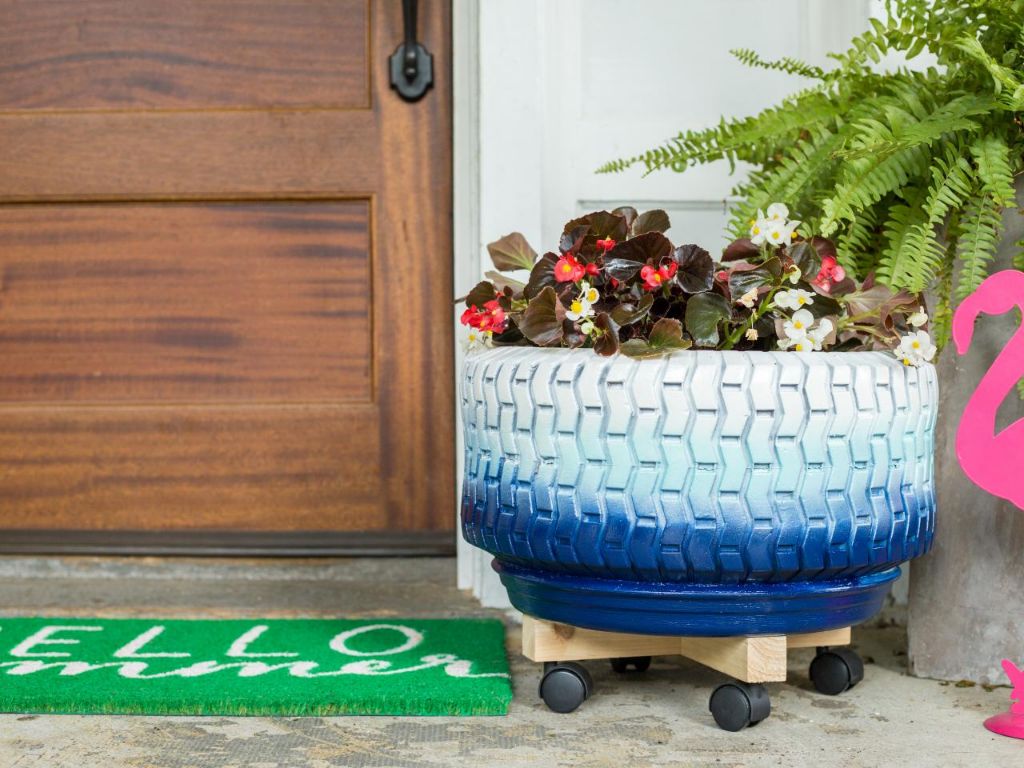
Upcycle Tires
Old tires can be repurposed into many creative garden decorations like planters, swings, and sculptures. Tires make sturdy, weather resistant decor since the thick rubber holds up well outdoors. Upcycling tires also keeps them out of landfills. Here’s a simple DIY tire planter project:
Tools Needed
- Tire
- Drill with large drill bit
- Spray paint
- Soil
- Plants
Instructions
- Clean tire thoroughly with soap and water, allow to dry.
- Using a large drill bit, drill drainage holes in the bottom and sides of the tire.
- Spray paint the tire a desired color and let dry.
- Fill bottom half of tire with potting soil.
- Plant flowers, herbs, or veggies inside the tire planter.
- Display your upcycled tire planter in the garden.
Get creative with shapes by stacking multiple tires, or mounting them vertically on walls. Paint fun patterns for a colorful accent. Upcycling tires prevents waste while adding a rustic, earthy touch to your garden.
Source: https://www.pinterest.com/pschro4647/tire-decorations/
Upcycle Dishware
Old plates, cups, and silverware can be given new life as beautiful garden art. Mosaic projects are a creative way to reuse broken dishware. Arrange broken shards in a mosaic frame or glue them to garden stakes or pots. Wind chimes made from mismatched cups and utensils add whimsy. Break plates into pieces and use them to create patterns in stepping stones or along garden beds.
Here’s a simple way to make mosaic garden stakes:
- Collect broken plates, cups, or bowls in various colors and patterns.
- Use tile nippers or pliers to break the dishware into 1-2 inch shards.
- Clean and dry the broken pieces.
- Sketch out a pattern or design on the surface of a wooden garden stake.
- Apply tile adhesive or strong glue to the stake and press the shards into place following your design.
- Let the glue fully dry for at least 24 hours.
- Apply grout between the shards if desired for a smoother mosaic look.
- Seal and protect the mosaic with an outdoor sealant spray.
- Display your finished mosaic stake in the garden and enjoy!
Reusing old dishware adds character and saves money. Turn no-longer-needed items into art for your garden.
Upcycle Tools
Old and worn out gardening tools like shovels, rakes, hoses, and watering cans can be given new life by turning them into decorative garden art (Source 1). Here are some simple steps to upcycle old metal tools into unique garden decor pieces:
- Gather old metal tools, like rusted shovels, broken rakes, scrap hoses, and leaky watering cans.
- Clean the tools by removing any loose dirt or debris. Use a wire brush to scrub off rust.
- Decide on your design. Tools can be arranged into sculptures, used individually as accents, or painted.
- For sculptures, use pliers and wire to connect multiple tools together into shapes. Affix tools to stakes in the ground.
- For individual accents, consider displaying a vintage shovel or rake against a wall or fence. Place old watering cans on pedestals.
- Spray paint tools bright colors for a fun, whimsical look. Stencil on designs for more decoration.
- Seal painted tools with a clear spray sealer to protect the finish.
- Display your upcycled tools and pieces throughout the garden for an eclectic, rustic look (Source 2).
With a little creativity and effort, those worn out old tools can find new life as charming garden art.
Display and Arrange
When displaying your upcycled garden decor, keep in mind principles of design such as proportion, balance, rhythm, and unity to create an aesthetically pleasing arrangement. Here are some tips:
- Create visual balance by mixing large and small decor pieces, using an odd number of items in each group. Balance heavier decor pieces with lighter ones.
- Use color to create a cohesive theme or mood. Group cool tones like blues and greens together, or opt for a vibrant rainbow of hues.
- Vary heights and shapes to add interest. Place taller pieces in the back and shorter ones in the front for depth.
- Highlight special pieces by giving them breathing room or placing them in the center of an arrangement.
- Repeat elements like color, shape, or texture to create rhythm and harmony.
- Arrange pieces thoughtfully rather than randomly scattered. Aim for purposeful, orderly design.
Be creative and let your personality shine through. Arrange pieces in a way that brings you joy. Refer to principles from Gardens as Art: Principles and Elements for Better Designs and Principles of Garden Design.
Enjoy and Share
Now that your upcycled garden decor is complete, it’s time to put it on display and enjoy your handiwork. Place your unique creations throughout your outdoor space and take pride in transforming “trash” into beautiful garden treasures.
As you decorate with your upcycled projects, keep in mind the benefits of upcycling – you’ve saved usable materials from the landfill, stretched your budget by reusing items for free, reduced waste, and created conversation pieces from forgotten items. Upcycling allows you to express your creativity while being kind to the planet.
Once you’ve artfully arranged your upcycled garden decor, take photos to share on social media. Join Facebook groups like Upcycle, Repurpose and DIY Ideas for Sharing and Inspiring and Repurpose + Upcycle = Inspiration to showcase your work and get inspired by fellow upcyclers. Your trash-to-treasure creations may motivate others to look at discarded materials in a new light.