Recycled Garden Art Projects: Adding Personality To Your Space
Recycled garden art has become increasingly popular in recent years. According to https://www.iberdrola.com/culture/recycled-art, recycled art allows people to turn trash into treasure and give new life to materials that would otherwise be discarded. The appeal lies in repurposing everyday objects and waste into unique, whimsical, and thought-provoking works of art. Recycled art also aligns with eco-conscious living and sustainability efforts.
A wide variety of materials can be transformed into recycled garden art, including plastic bottles, cans, broken dishware, scrap metal, wood pallets, tires, plastic containers, and more. With some creativity and effort, these recycled elements can become decorative statues, birdbaths, wind chimes, garden stakes, mosaics, and an endless array of other possibilities.
Installing recycled art in an outdoor space provides numerous benefits. It adds visual interest and an element of self-expression. Recycling waste into art keeps it out of landfills and gives it renewed purpose. Upcycling everyday materials also results in unique, one-of-a-kind pieces unmatched by mass-produced yard decor. DIY recycled art is also often very budget-friendly.
This article provides inspiration and step-by-step guidance on creating unique recycled garden art. It will cover planning, material sourcing, construction, adding creative touches, and displaying finished pieces. The goal is to inspire readers to turn trash into treasure through DIY recycled art projects that add personality and eco-friendly flair to any yard or garden.
Gathering Materials
The first step in creating recycled garden art is gathering materials. Some great places to find recyclable items include your own recycling bin, friends and neighbors, thrift stores, garage sales, and local businesses. Focus on collecting clean materials in a variety of colors, textures, and shapes to allow for lots of creative possibilities.
Some of the best materials to look for include:
- Plastic bottles, jugs, lids, and containers
- Aluminum cans
- Cardboard from packaging
- Old CDs or DVDs
- Broken toys, dishes, or decor
- Scrap fabric, yarn, or string
- Old magazines, catalogs, or books
Gather as much or as little material as you’d like. It’s a good idea to collect more than you think you’ll need to allow for experimentation and changes during the design process. Aim for enough recyclables to fill a large box or two before getting started.
Cleaning and Preparing Materials
Before beginning any recycled art project, it’s important to clean and prepare your materials properly. This not only sanitizes the items but also allows you to see their form and potential more clearly. Follow these tips for effective cleaning methods based on material type:
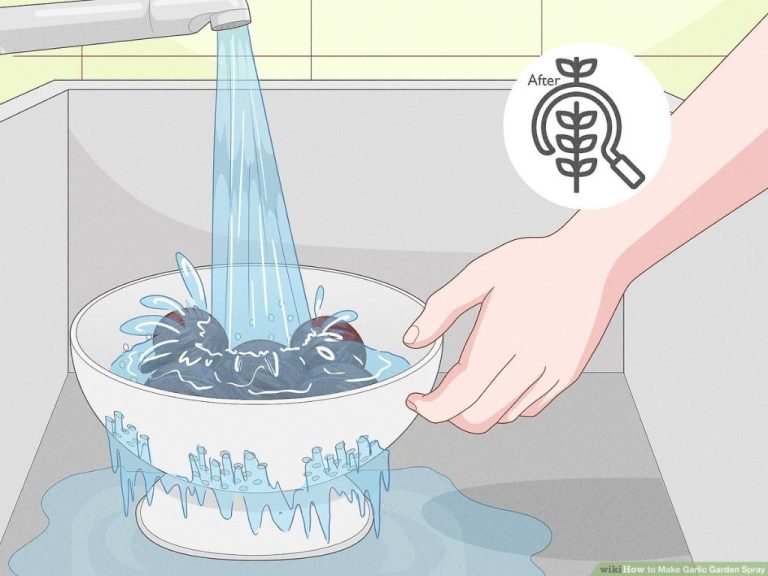
For plastics, glass, and metals: Wash in warm, soapy water. Make sure to scrub thoroughly and rinse off any soap residue. Metals may require a bit of elbow grease for scrubbing. According to this blog, you can also use a diluted bleach solution for extra disinfecting.
For paper, cardboard, and wood: Wipe down with a damp cloth to remove dust and dirt. Avoid soaking these materials to prevent warping. Let items dry fully before using.
When working with recycled materials, take proper safety precautions. Wear gloves to protect your hands, especially when handling items with sharp edges. Work in a ventilated area and use eye protection if dealing with spray paints or glues. Dispose of any liquids properly. Follow the directions for all cleaning products. With care, you’ll be ready to transform your found objects into art!
Inspiration and Ideas
There are many creative ways to upcycle common household items into unique garden art pieces. Here are some ideas to spark your imagination:
Wind Chimes
Wind chimes add pleasant sounds to your outdoor space. You can make chimes out of old utensils, keys, shells, or scrap metal (Source). The benefit of wind chimes is that they are relatively easy and inexpensive to make. The downside is that they require some trial and error to get the tone and sound you want.
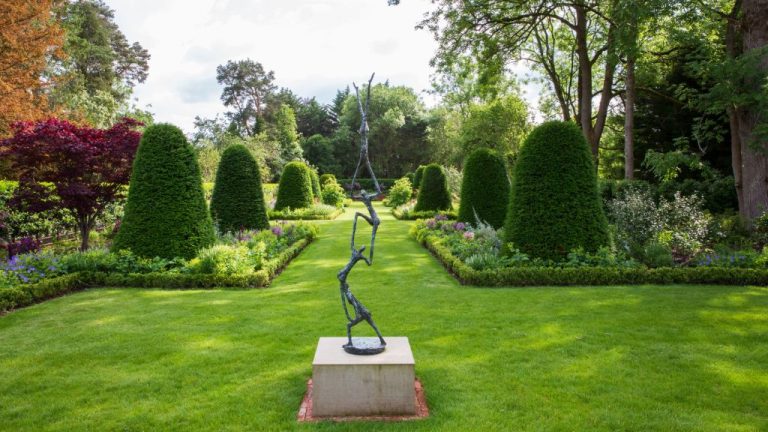
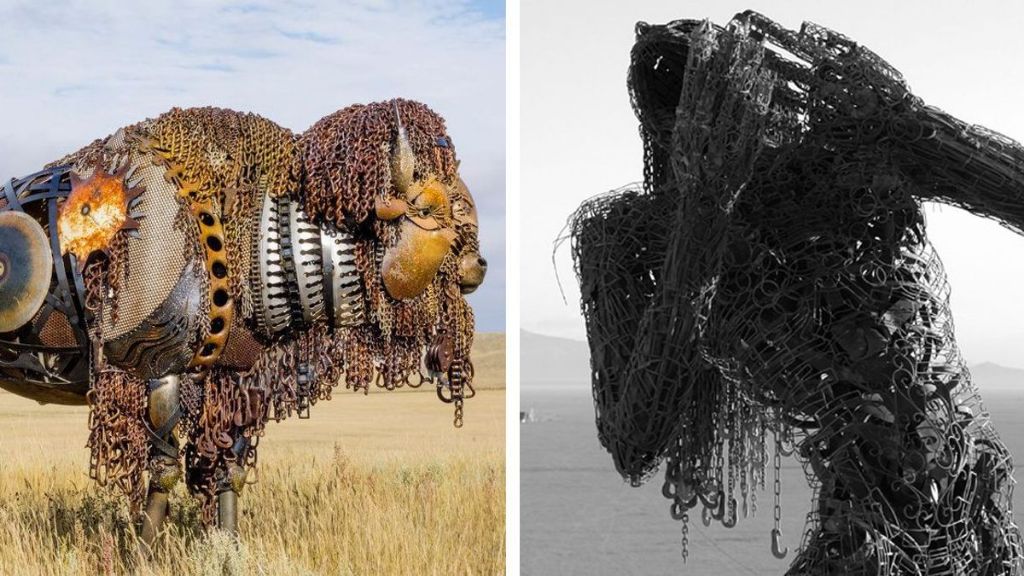
Sculptures
Old kitchen items like pots, pans, and utensils can be turned into fun sculptures. Coat hangers can be bent into shapes like butterflies or dragonflies. You can weld scrap metal into abstract shapes. The advantage of sculptures is you can showcase your creativity. The disadvantage is that they require more time and skill to construct (Source).
Bird Feeders and Houses
Old teapots, jars, and bowls can easily be turned into cute bird feeders or houses. You can also use scrap wood and old license plates. The benefit is that you can attract beautiful wildlife to your garden. The downside is that feeders require maintenance to keep clean and full of seed (Source).
Planning Your Project
Careful planning is essential for a successful recycled art project. Before starting, think about what kind of project you want to create and ensure you have the necessary materials and tools. Some things to consider:
Selecting a Project: Look at examples online or in books for inspiration. Choose something that fits your skill level and available materials. Make sure it’s large enough to be noticeable but can fit the display location.
Materials: Take an inventory of what you have on hand before shopping for more. Upcycling scrap materials is ideal. Consider color, texture, sturdiness, and how materials can be combined.
Tools: Gather essential tools like wire cutters, pliers, scissors, glue, tape, and paint. Power tools may be needed for larger projects.
Design: Sketch your ideas to visualize the end result. Consider dimensions, structure, and interactive elements. Recycled materials may dictate changes.
Assembly: Determine construction order and techniques. Many materials require special glues, screws, or joints. Plan how pieces will be joined for durability.
With thoughtful planning and preparation, you can create a recycled art project full of creativity and personality for any space.
Assembly and Construction
Putting together your recycled art project requires some planning and care. Having a solid structure is key to ensuring your creation lasts. Here are some tips for assembly and construction:
When putting the pieces together, make sure to choose a sturdy joining method suitable for the materials. For example, plastic and metal pieces can be attached with hot glue, epoxy or welded together. Wood can be joined using wood glue, nails, screws or dowels. Secure glass pieces by adhering them to a sturdy frame or base.
Consider the overall structural integrity as you assemble the components. Use additional supports like wire, mesh or a sturdy base to reinforce the structure if needed. Position heavier elements low and centered to prevent tipping. Cross brace where required for stability.
Take your time fitting pieces together neatly and aligning them properly before permanently attaching. Having a solid framework will ensure your recycled art withstands being moved and displayed long-term.
Be creative in how you join disparate elements for interesting contrasts. But keep safety in mind – file down sharp edges and don’t combine items that could easily shatter or fall apart.
With good planning and care taken during assembly, your unique recycled art project will come together into a cohesive and structural whole, ready to add personality wherever it’s displayed for years to come. (source)
Adding Creative Touches
Once your recycled art project is assembled, it’s time to add those final creative touches that will really make it stand out. Consider using paint, mosaics, embellishments, and other decorative elements to give your art personality and visual interest. When choosing materials, aim for a cohesive aesthetic that enhances the overall style of your project.
Acrylic paint is a versatile option for adding pops of color. Look for paints designed for outdoor use if your art will be displayed outside. Mosaics made from recycled tiles, glass, or mirror pieces can add shimmer and texture. Adhere mosaic pieces with exterior-grade grout or adhesive. Embellishments like buttons, seashells, beads, or colorful bits of plastic or metal are great for accenting details. Display your materials together first to ensure they work well as an ensemble before permanently adding them to the art.
The creative touches you choose will largely depend on the existing materials used and the overall shape and form of your recycled art. For example, a mosaic design might look best on a flat surface, while 3D sculptures could benefit from paint, ornamentation, or mixed media collaging. Take time to step back and visualize how different decorative elements will look before committing to a design.
Get creative with the finishing palette so your art has visual depth and personalized flair. With so many possibilities, you’re sure to find creative touches that enhance your recycled art and give it a look all its own.
Source: https://www.pinterest.com/jrplatt2/recycled-art-projects/
Displaying Your Creation
Finding the perfect spot to showcase your recycled garden art is an important part of the creative process. Consider placement carefully in relation to sunlight, visibility, and interaction with existing plants and hardscapes. Mount securely using weather-resistant hardware like exterior screws, brackets, stakes or adhesives.
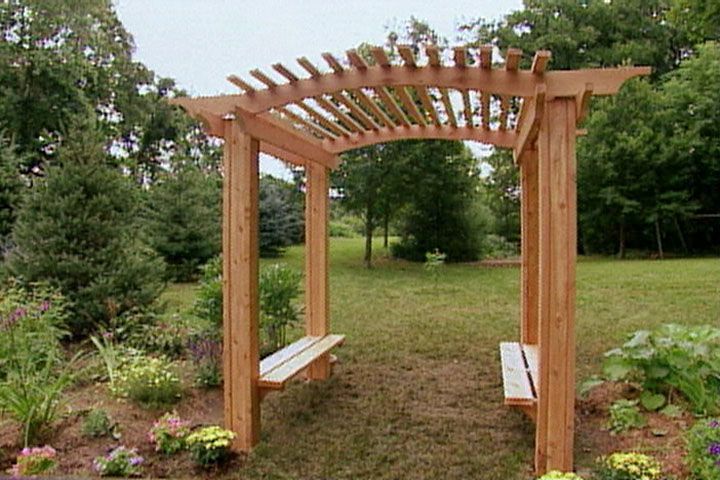
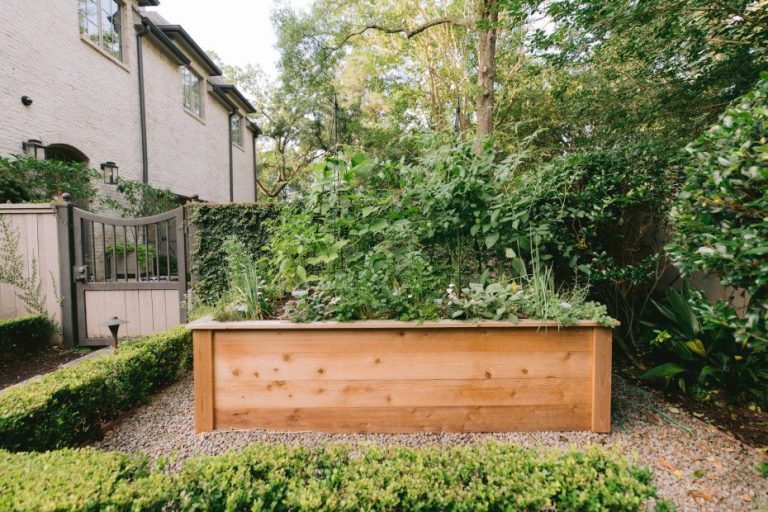
For freestanding pieces, ensure the base is stable enough for windy days. Display larger sculptures on a solid surface like a patio or embed the base in the ground for support. Use decorative stands like columns, pedestals, or stacked tyres to elevate smaller creations. Hang wall art and mobiles from porches, pergolas, fences or sturdy tree branches with hooks, chains, or fishing line.
For a cohesive look, group pieces with similar colors, textures, or themes. Scatter smaller items throughout flowerbeds and borders or cluster them together in dedicated “art gardens.” Use pathways, garden benches or water features to highlight focal points. Let your imagination and artistic vision guide you as you find special places for your one-of-a-kind, upcycled garden art. According to https://fleamarketgardening.org/category/recycled-garden-art/, displaying recycled art adds personality and visual interest to outdoor spaces in eco-friendly ways.
Maintaining and Protecting Your Art
Outdoor art requires some regular maintenance to withstand the elements. Properly sealing and protecting your recycled creations can help them last for years.
Weatherproofing is key for any outdoor art. For metal pieces, a clear coat of polyurethane or spray lacquer can provide a protective barrier against rust and corrosion (Source). Make sure to apply multiple thin coats and allow each coat to fully dry before adding the next. For other materials like wood or plastic, exterior-grade paints and stains add both color and weather resistance.
Regularly inspect your art for any signs of damage or wear. Touch up paint chips as soon as they appear to prevent further deterioration. Check any joints or connections to ensure pieces are still securely fastened. Tighten or reinforce as needed. Over time, the sun’s UV rays can fade certain materials – refreshing the paint or stain regularly will help them keep their vibrance.
While outdoor pieces require some extra care, taking steps to properly seal and maintain your art allows you to proudly display your creative works for all to enjoy.
Inspiring Others to Create
One of the most rewarding aspects of creating recycled garden art is inspiring others in your community. Sharing photos and details about your projects online can spark creativity in others. Social media platforms like Facebook, Instagram, and Pinterest enable you to easily give DIY tutorials and share tips.
Consider hosting workshops at local community centers, schools, or gardens to teach techniques hands-on. Demonstrate how to turn common recycled items like plastic bottles, cans, or scraps of wood into beautiful artworks. Guiding others through the creative process can be highly fulfilling.
Promoting recycled art also raises awareness about environmental sustainability. An excellent way to reduce waste going to landfills is to repair and repurpose materials. Art projects made from recycled goods showcase the importance of reusing resources. Teaching workshops about upcycling unwanted items into art can inspire eco-friendly practices in your community.
As referenced from https://www.iberdrola.com/culture/recycled-art, engaging others in recycled art projects has a positive impact by contributing to the reuse of waste.