Creative Diy Planters For Your Garden
DIY planters are a great way to add customization and creativity to your garden or home. Building your own planters allows you to control the size, shape, color, and material to perfectly match your space and planting needs. With just a few simple materials and tools, you can create beautiful planters at a fraction of the cost of buying premade options at a nursery or store.
The most common materials used for DIY planters are wood, metal, plastic, cement, and reused containers. Wood and metal like reclaimed wood boards or corrugated tin offer rustic appeal. Durable plastics like PVC pipe or food-grade buckets make color customizable planters. Cement allows you to build sturdy, weather-resistant structures. And repurposing items like crates, barrels, or pots gives new life to what otherwise would be trash.
In this guide, we’ll walk through unique DIY planter projects utilizing these various materials. With a mix of beginner-friendly and more advanced designs, you’re sure to find an inspiring planter perfect for displaying your plants and making your space bloom.
Planters From Wood
Wood is a classic material for building DIY planters. The natural beauty and durability of wood makes it an ideal choice. When selecting wood, opt for rot-resistant woods like cedar, redwood, and pine (Wooden Outdoor Wall Planters | Wood Dad, https://www.pinterest.com/pin/267964246566319202/). These types of wood will hold up better outdoors.
Start by cutting your wood boards to the desired size and shape. Use a miter saw to make straight cuts. Then assemble the pieces into a box shape by nailing or screwing them together at the corners. Make sure the bottom is secure by nailing a plywood base in place (15 Best Wood for Raised Garden Beds (2024 List), https://woodworkingclarity.com/best-wood-for-raised-garden-beds/).
Once constructed, decorate the outside by painting or staining the wood. You can leave it natural or go bold with a pop of color. Consider distressing the wood or adding decorative touches like wooden cutouts. The possibilities are endless for customizing the exterior.
Planters From Metal
Metal planters are a great way to add an industrial vibe to your garden. You can use sheets of tin, galvanized steel, or aluminum to fashion chic cylindrical or rectangular planters.
To make a round planter, cut a large circle out of metal sheeting and bend the edges upward to form a cylinder. Overlap the edges slightly and use pop rivets to attach them together. For a square or rectangular planter, measure and cut four pieces to size, bending them into shape and joining the corners with rivets or welds.
If using steel, which can rust, make sure to paint or seal it with a rust-proofing solution first. Tin and aluminum can be left bare to develop a aged patina over time. Another option is to spray paint or powder coat metal planters with protective finishes in any color imaginable.
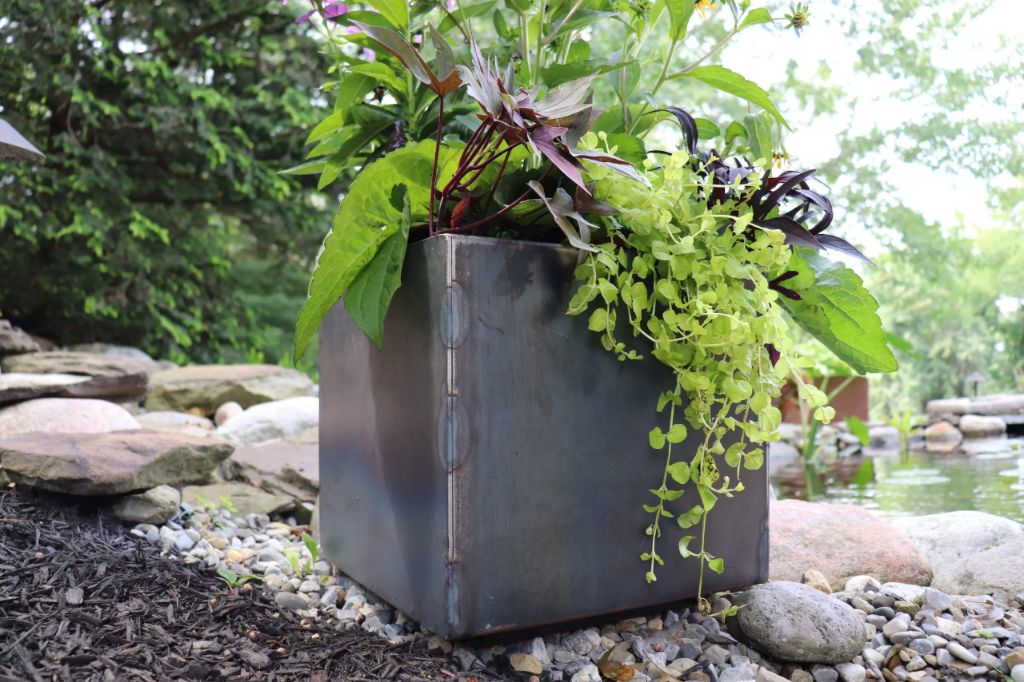
The sleek metallic look pairs well with both modern and cottage style gardens. Get creative with galvanized buckets, tin cans, or even metal funnels as unique planters. Drill drainage holes in the bottom and add a drainage layer of pebbles before filling with potting mix and plants.
Planters From Plastic
Plastic bottles and containers can be easily repurposed into cute DIY planters for your garden. Reusing plastic reduces waste and is an economical option. Plastic is durable and lightweight, making plastic bottles easy to hang or move around.
When reusing plastic bottles, first remove any labels. Then determine the height you want the planter to be and cut off the top portion of the bottle. Drilling drainage holes in the bottom is important to prevent root rot. Add a few holes along the sides as well for ample drainage.
Get creative decorating and painting your plastic planters. Spray paint works well on plastic for adding color. You can paint fun patterns or designs. Consider wrapping burlap or rope around the outside for texture. Gluing on buttons, gems, or other embellishments personalizes the planters.
Plastic buckets, bins, and containers can also become planters with a bit of imagination. Look for food-safe options without harsh chemicals. Cut drainage holes in the bottom before filling with soil and plants. Larger plastic containers are great for vegetables or small trees and bushes.
For inspiration, check out the assortment of plastic bottle planter ideas here. Reusing plastic containers creates functional garden art!
Cement Planters
Cement planters are a great DIY project for crafty gardeners. You can create unique shapes and sizes by building your own wooden molds. It’s important to properly mix and cure the cement to ensure your planters are strong and durable. Here are some tips for making cement planters at home:
First, decide on the shape and size you want for your planter. Build a wooden mold to your specifications. The mold will determine the final dimensions, so make it sturdy and seal any cracks 1.
Next, mix the cement according to the directions, using the right proportions of cement, sand and water. Mix thoroughly until you achieve a smooth consistency. Pour the cement carefully into the mold, tapping the sides to release any air bubbles. Allow the concrete to fully cure and harden for at least 24-48 hours before removing from the mold.
Once cured, gently remove the concrete planter from the mold. Use sandpaper to smooth any rough edges. Sealing the concrete with an outdoor sealant will protect it from weathering and prevent cracks1.
If desired, paint the cured concrete with outdoor acrylic paint. Get creative decorating your DIY cement planter with stencils, stamps or mosaic tiles. The options are endless for personalizing these handmade garden pots!
Repurposed Container Planters
One creative way to make DIY planters is by repurposing used containers into garden planters. Everyday items like baskets, crates, pots, barrels, and more can be given new life as a unique planter. The key steps are:
First, thoroughly clean the container you want to upcycle. Scrub away any dirt or debris. If the container held anything toxic like chemicals, use appropriate cleaning agents to sanitize it.
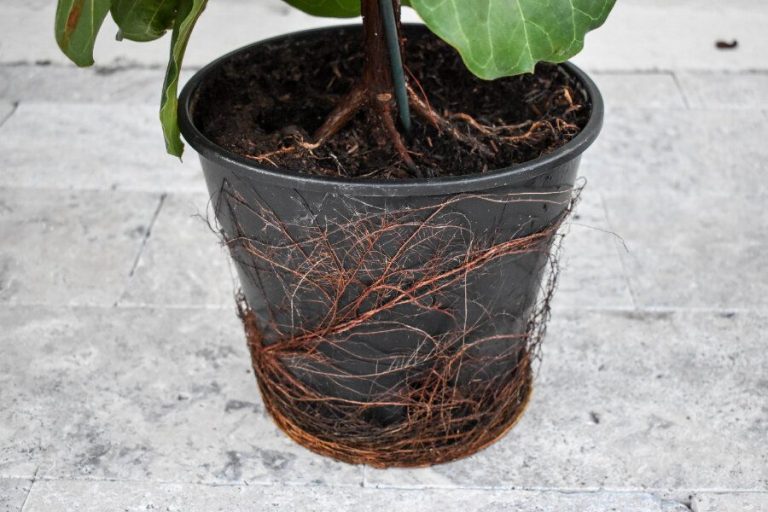
Next, add drainage. Most repurposed containers won’t already have drainage holes. Use a drill to make several holes in the bottom. The holes should be about 1/4 inch wide to allow excess water to drain out.
Then, fill the planter with a quality potting mix soil. Make sure to fill it nearly to the top. Gently pack down the soil so there are no air pockets or gaps.
Finally, transplant your plants into the soil. Consider the sun exposure needs of the plants when positioning the planter. Water the plants and let them become established before moving the planter.
With a bit of imagination, all kinds of used containers can be upcycled into unique garden planters. Old buckets, watering cans, wheelbarrows, drawers, and more can find new life brightening up your yard.
Hanging Planters
Hanging planters are a great way to add a creative flair to both outdoor and indoor spaces. They can be made using a variety of repurposed containers and materials. Some things to consider when creating DIY hanging planters are:
- Converting containers to hangers with hooks, chains, rope – Items like baskets, buckets, crates can be retrofitted with hanging apparatus using eye screws, chain, rope, macrame, etc.
- Hanging on fences, patios, trees, shepherds hooks – Consider where you want to hang the planter and make sure the hanger is fitted properly.
- Choosing lightweight materials – For both indoor and outdoor hangers, opt for lightweight planters that won’t be too heavy for where they are hung. Use plastic, resin, fiberglass instead of heavy materials like cement or metal.
Some fun DIY hanging planter ideas to try are converting ladders, crates, baskets, and pots into hangers using macrame, rope, or chain (HGTV). Get creative with the materials and hang them anywhere from patios, to fences, indoors, on walls, or from hooks.
Vertical Planters
Vertical planters are a great way to maximize your gardening space and grow plants on walls or other vertical surfaces. Some popular materials for DIY vertical planters include:
Wood pallets – You can secure stacked pallets to a wall or fence and use the slats as shelves to hold containers or soil. Drill drainage holes in the bottom pallet.
Ladders – An old wooden ladder can be attached to a wall and used to display cascading plants on each rung. Lean the ladder against the wall or secure it horizontally.
Crates or boxes – Attach stacked crates or sturdy boxes to a sunny wall. Use them as planter boxes for herbs, flowers or trailing plants. Make sure there is good drainage.
Poles – Drive poles or stakes into the ground and use them to support stacked containers. Place them along a wall or fence for vertical growing space.
For any vertical planter, make sure to use containers that will hold soil and plant roots securely. Add brackets or surfaces to attach containers to the wall or structure. Including a drip irrigation system, soaker hose or regular watering regimen will help keep plants hydrated in vertical planters.
Self-Watering Planters
Self-watering planters are a great option for keeping plants hydrated without needing to water them manually. The key to a self-watering planter is building a water reservoir at the bottom of the container that slowly releases moisture to the soil through a wicking system.
To make a self-watering planter, start by drilling drainage holes in the bottom of a plastic or ceramic container. Then add a plastic liner or pond basket to prevent leaks. Next, add a layer of gravel, followed by a permeable landscape fabric to separate the soil from the reservoir below. Install a water wick made from yarn, burlap, or other absorbent material that reaches from the soil down into the water reservoir. Finally, fill the planter with potting soil and plant your flowers, herbs, or vegetables.
The water reservoir at the bottom should have a fill tube so you can easily top it off. As the soil dries out, the wick will draw water up to the roots. This allows the plant to get a constant supply of moisture without you having to water it manually. Just check the reservoir every few days and refill as needed. The wick does the hard work!
For a simple self-watering planter, Little Victorian provides step-by-step instructions for building one using plastic bottles. Their design creates a water reservoir in the base of the planter to keep roots hydrated.
Conclusion
There are so many creative and fun DIY planter projects to try for your garden. We looked at a variety of DIY planters made out of wood, metal, plastic, cement, and repurposed containers. Each material provides unique benefits and allows you to customize your planters exactly how you want. Some key highlights are hanging planters, vertical planters, and self-watering planters which provide their own functionality advantages.
The great thing about DIY planters is that you can let your creativity run wild! You are not limited by what you can find in stores and instead can create something uniquely you. Container gardening itself also provides flexibility no matter your space constraints. As discussed, you can grow plants on a balcony, patio, courtyard and more with the right planters.
Hopefully this article provided some inspiration for your own DIY planter projects. Don’t be afraid to experiment with different materials and designs to make your perfect planters. Growing plants in your customized containers will be rewarding and enjoyable.