Winterizing Your Garden: Protecting Plants From Frost And Snow
Preparing your garden for winter is an essential task for all gardeners. Taking the time to winterize your garden will help ensure your plants survive the cold winter months and come back healthy and strong in the spring (source). Proper winterization involves both protecting tender plants from frost and insulating the soil. It also includes general upkeep like pruning, cleaning tools, and draining hoses. In this article, we will cover the key steps every gardener should take to get their garden ready for winter.
Remove Dead Plants
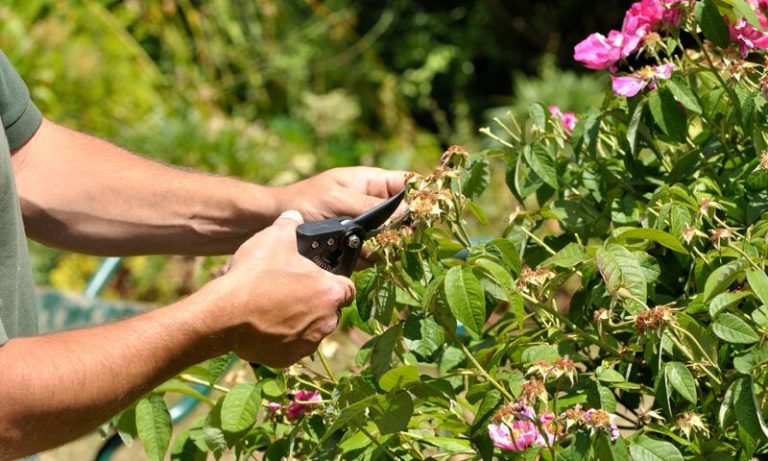
Early spring is the optimal time to clear out any dead annuals, spent perennials, faded foliage, and fallen leaves from your garden beds according to gardening experts. Take care not to damage new growth that may be emerging at the base of plants. Removing dead and decaying plant material helps minimize disease and prevents pesky insects from overwintering in your garden. Use clean, sharp pruners or garden shears to cut back plants near to the ground. Compost or discard the debris as appropriate. This chore may seem tedious but is essential for giving your garden a fresh start each growing season.
Cut Back Perennials
Most perennials should be cut back after several hard frosts when the foliage has died back. This helps protect the crown and roots of the perennial from damage during winter weather 1.
To cut back perennials, use a pair of sharp pruning shears to trim the dead stems down to 3-5 inches above the soil line, removing all spent flowers and foliage. Leave the lower portions of the plant and root structure intact to allow for new growth in spring 2.
It’s important not to cut back the foliage too early while it’s still green. Wait until it has died back after several hard frosts. Cutting back too early can damage the plant. However, any diseased or insect-infested stems should always be pruned, regardless of the time of year 3.
Protect Tender Plants
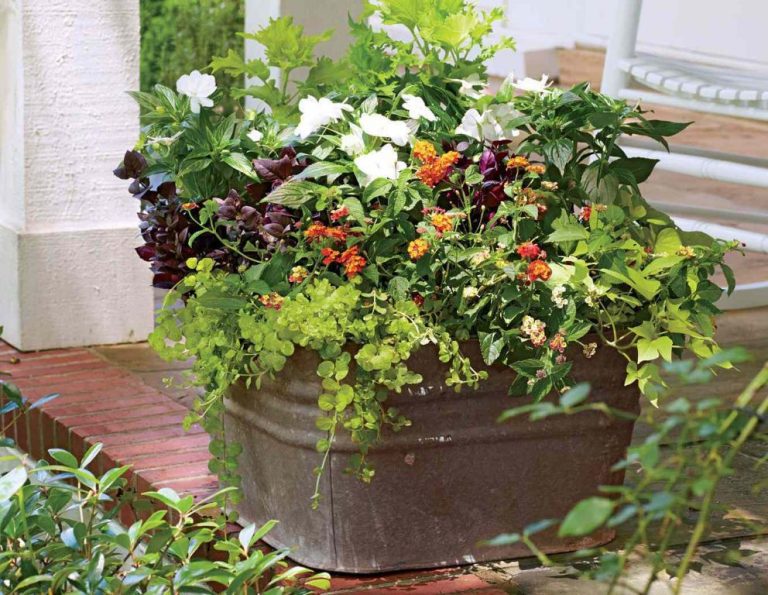
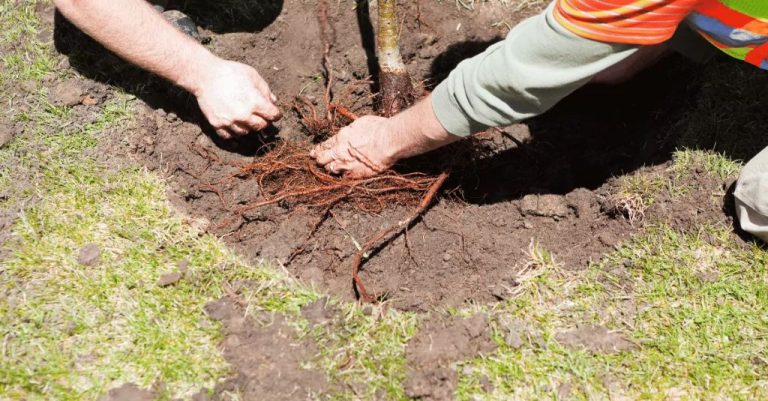
Sensitive plants that can’t tolerate frost or freezing temperatures need extra protection in winter. Covering them with mulch, burlap, or plant blankets can help shield them from cold damage.
Apply a thick layer of mulch such as leaves, straw, or pine needles around the base of tender plants. This insulates the roots and crown. Pile mulch 6-12 inches high depending on your climate. Remove the mulch in spring after the threat of frost has passed. Source
Burlap also makes an effective cold weather plant protector. Drape burlap sheets or bags over vulnerable plants, securing the edges with weights or stakes so it doesn’t blow away. For larger plants, build a cage from chicken wire and stuff it with leaves or straw before surrounding it with burlap. Source
Apply commercial plant protectant sprays formulated to coat plant surfaces with a protective film. These anti-desiccant sprays can shield tender vegetation from temperatures slightly below freezing. Follow application directions carefully.
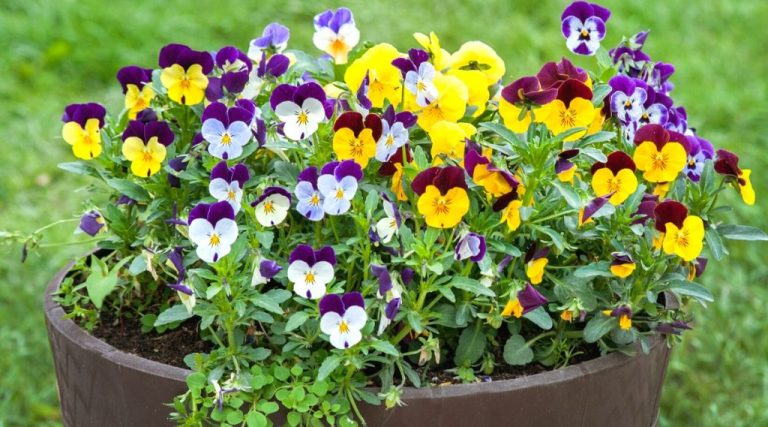
Potted plants can be moved into an unheated garage or enclosed porch for winter if temperature doesn’t drop below freezing. Ensure pots don’t dry out since plants still need moisture.
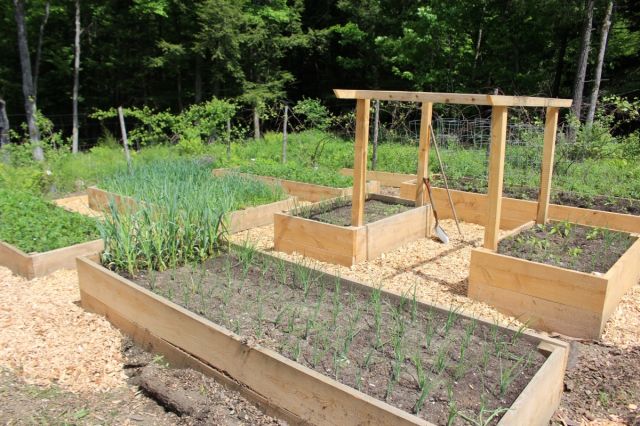
Add Mulch
Adding a layer of mulch in your garden beds before winter is one of the most important steps to protect plants. Mulch acts as an insulating blanket to shield roots and prevent freeze damage. According to lawn care experts, the ideal mulch depth for winter is 2-4 inches (How Deep Should Mulch Be?). This provides adequate coverage without smothering plants.
Apply mulch after the ground has frozen or when temperatures consistently drop below freezing. Spread mulch evenly over soil, taking care not to bury plant crowns too deeply. Organic mulches like shredded bark, leaves, straw, or wood chips are ideal. These break down over time to improve soil nutrition (How thick should I mulch my beds?). The mulch layer insulates the soil and plant roots, regulating soil temperature to prevent freeze/thaw cycles that can damage roots and encourage frost heaving.
A 2-4 inch mulch layer also prevents premature spring growth by keeping soil cooler. It conserves moisture and suppresses weeds. In spring, pull back any remaining mulch to allow soil to warm and dry out. Your perennial garden will be protected and ready to thrive next growing season.
Drain and Store Hoses
It’s important to properly drain and store hoses before winter to prevent freezing and cracking. Start by disconnecting all hoses from spigots and water sources. Use a hose end sprayer to drain any remaining water from the hose. Consider using compressed air to fully remove any trapped water droplets. Coil the hose gently without kinks so water can fully drain out.
For storage, some options are to hang coiled hoses in a garage or shed, or use a hose reel or hose hanger. You can also store hoses in a bucket or trash can. Avoid exposing hoses to sunlight which can degrade the material. Storing hoses indoors like in a basement or crawlspace is ideal to prevent freezing temperatures cracking the hose (source). If storing hoses outdoors, consider covering with an insulating material like bubble wrap.
Clean and Store Tools
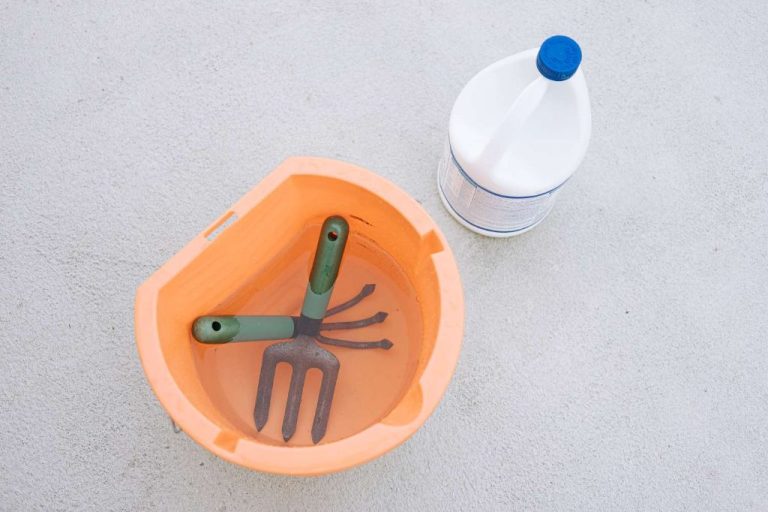
Before storing your garden tools for the winter, it’s important to properly clean and maintain them so they stay in good condition. Start by using a stiff brush and mild detergent to remove any dirt or debris from shovel heads, pruning shears, loppers, hoes, and other tools (Forbes). Use steel wool to scrub off any rust spots. Then wipe everything down with a clean rag.
Make sure to sharpen all blades, including those on pruners, shears, and axes. A sharp blade will be easier to use next season. Use a whetstone or sharpening file to hone any dull edges (HGTV).
To prevent rust, rub a light coating of oil on metal parts. WD-40 works well for this. You can also soak tools for 10-15 minutes in a bucket of sand saturated with oil (BobVila). The oil helps displace moisture and prevent corrosion.
Once clean and prepped for storage, hang tools in your garage or shed so they are up and off the ground. You can mount pegboard and outline each tool’s shape with marker so there’s a designated spot (BHG). Store smaller hand tools in sealed plastic containers or an old coffee can filled with sand. Keeping tools in a dry location away from moisture is key.
Prune Shrubs and Trees
Pruning shrubs and trees in late fall or early winter can encourage new growth in spring. The ideal time is after the leaves drop and before the coldest part of winter hits. Late fall through early March is generally considered the best time for winter pruning in most areas.
According to the University of Minnesota Extension, February and March are good months for pruning woody landscape plants in cold climates [1]. The exceptions are maple, birch, walnut, and elm trees, which should only be pruned in late spring or summer.
When pruning in winter, it’s best to prune on a mild, dry day above freezing so cuts can seal properly. Make sure to sterilize pruning tools before each cut with a diluted bleach solution to prevent disease transmission. Remove any dead or damaged branches first, then selectively thin interior branches for airflow and light penetration. Avoid removing more than 25% of the total branches to prevent shock.
Winter pruning encourages vigorous new growth come springtime. Just be sure not to prune too early in winter before the coldest temperatures hit or new incisions may dry out. Late fall through early March provides the ideal window in most regions [2].
Protect Pipes and Faucets
Insulating and protecting exterior pipes and faucets from freezing is an important winterization task. Exposed pipes and faucets are vulnerable to freezing temperatures, which can cause them to burst and lead to costly plumbing repairs.
Start by disconnecting and draining garden hoses. Make sure to completely drain any excess water from the pipes. Next, wrap foam pipe insulation around exterior pipes and water spigots. The insulation will act as a barrier against cold temperatures.
For added protection, cover outdoor faucets with insulating faucet covers or hoods. These covers slip over the faucet and have an insulating foam lining to prevent freezing. There are also freeze-proof faucets available that have a built-in valve to shut off water flow inside the warm house [1]. This prevents water from being trapped in the exterior pipe where it can freeze.
Taking the time to properly insulate and protect exterior plumbing can save you from dealing with busted pipes and costly repairs during winter. With the right preparation, you can keep your outdoor faucets and pipes intact all season long.
Apply Winter Fertilizer
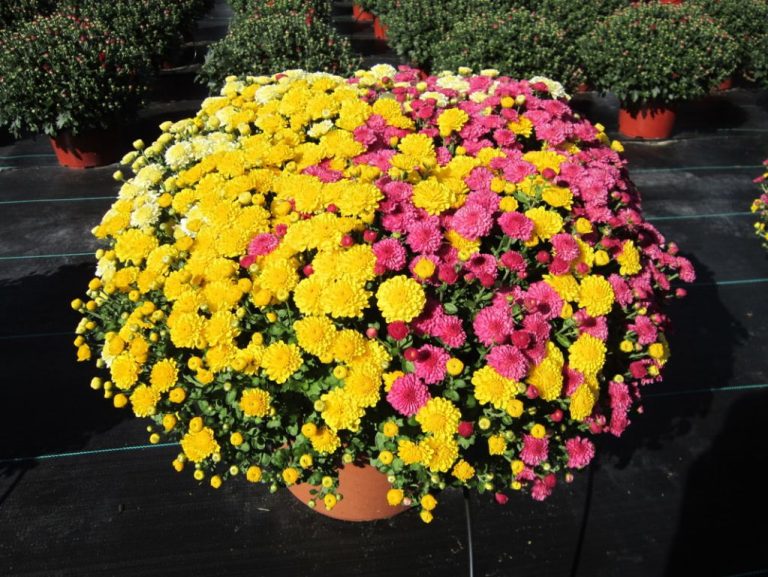
Applying a winter or fall fertilizer can help nourish your plants while they are dormant. Look for fertilizers labeled specifically for winter or fall use. These will provide key nutrients without encouraging new growth that could be damaged by cold temperatures.
Winter fertilizers are typically high in potassium and phosphorous, which support root growth and overall plant health. According to Grounds Guys, synthetic winter fertilizers can help prevent weeds and disease as well as keep grass green through winter months.
For lawns, look for a formula close to 29-0-4, as recommended by Bob Vila. Vegetables and container plants can benefit from balanced organic fertilizers applied at half strength before winter dormancy.
By feeding plants prior to winter, you’ll give them the energy they need to thrive again in spring.