Summer Garden Projects: Diy Ideas For A Beautiful Garden
Summer is the perfect time to refresh your garden and make some DIY improvements. In this article, we will provide an overview of popular summer garden projects you can do yourself to beautify your outdoor space. The purpose of this article is to give you creative ideas and instructions for enhancing your garden over the summer months.
Updating your garden during summer allows you to take advantage of the warm weather and longer daylight hours. Some projects are best suited for summer, like building a water feature or setting up an outdoor living space. The projects covered in this article will help you add visual interest, grow more plants, reduce maintenance, and simply make your garden more enjoyable.
Whether you want to build trellises for climbing plants, create pathway lighting, or set up a compost system, you’ll find a variety of beginner-friendly DIY garden projects here. They range from simple enhancements you can do in an afternoon to more involved projects for committed weekend warriors. With the right plans and a little effort, you can give your garden a fresh new look this summer.
Building Raised Beds
Raised beds can be a great addition to any garden for a variety of reasons. According to Fine Gardening, some key benefits of raised beds include:
- Better water retention in areas with sandy soil
- Improved drainage in clay soil
- More space for plants
- No soil compaction
To build a basic raised bed, you’ll need:
- Untreated lumber or other material for the frame
- Landscape fabric to line the bottom (optional)
- High quality gardening soil
- Gravel or stones for drainage (optional)
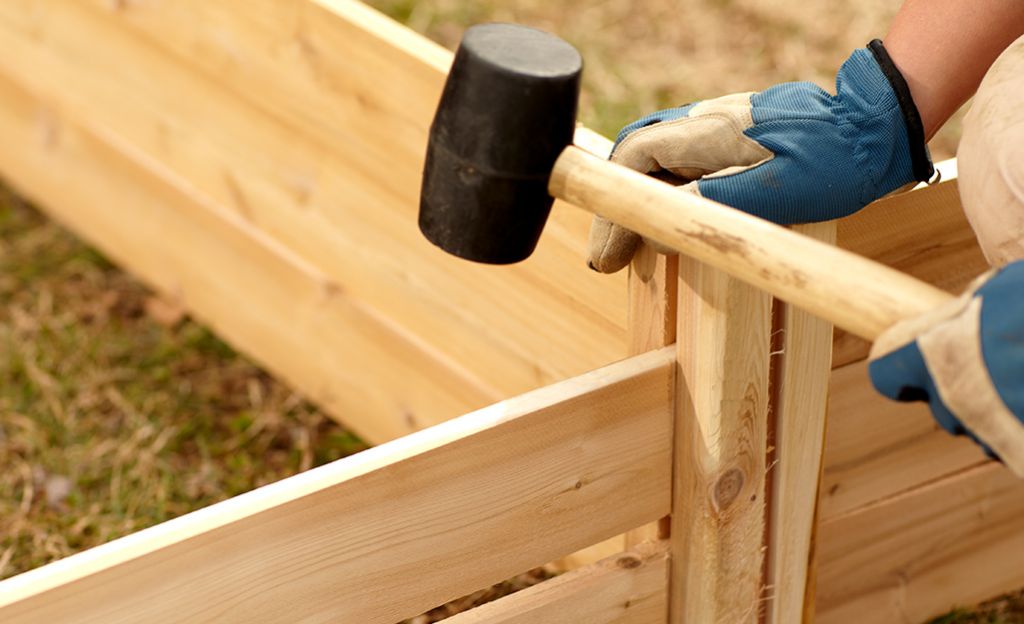
First, decide on the size and location of your raised bed. Mark off the area and remove any grass or weeds.
Construct a frame using your lumber – make sure to hammer corners together securely. Place landscape fabric along the bottom of the frame if desired.
Fill your frame with high quality gardening soil, leaving about 6 inches from the top. Mix in gravel or stones for improved drainage.
Once full, level and smooth the soil. Your raised bed is now ready for planting!
Be sure to water and care for your raised bed just like any garden. Adding compost and fertilizer will help your plants thrive.
Creating a Water Feature
Adding a water feature to your backyard garden can provide soothing sounds and an aesthetically pleasing focal point. There are several types of water features to consider for your outdoor space:
Ponds – Ponds can range from small containers to large in-ground installations and can incorporate plants, fish, fountains, and waterfalls. Ponds should be designed based on available space, budget, and maintenance requirements.
Fountains – Versatile fountains come in endless shapes and sizes. Consider pedestal, wall-mounted, cascading, or floating fountains made of various materials like stone, concrete, or metal.
Waterfalls – Waterfalls add soothing sounds and movement. Choose freestanding waterfalls or incorporate a waterfall into an existing or new pond installation.
When choosing a water feature, consider the style, size, and location based on your available space and preferences. Make sure to account for any installation requirements like electrical, plumbing, or excavation needs. Properly preparing the site and installing the water feature according to manufacturer instructions will ensure proper function and longevity.
Installing Landscape Lighting
Landscape lighting can transform an outdoor space and enhance its beauty and functionality at night (Landscape Lighting Guide, Kichler). When planning a landscape lighting project, there are several key considerations:
Types of Lighting
Path lights are low-level lights that illuminate walking paths. Flood lights provide general illumination. Spotlights highlight specific plants or architectural features. Accent lights add drama. Deck lights illuminate stairways and decks. The lighting plan should incorporate a mix of different types for both functionality and visual appeal (This Old House).
Layout Planning
Experts recommend placing fixtures no closer than 20 feet apart to create “pools of light” to guide the eye around the landscape. Focus on lighting entrances, paths, steps, planting beds, trees, and other focal points. Consider how the lighting will look both up close and from afar (This Old House).
Wiring and Installation
Low-voltage cable is commonly used for landscape lighting and runs from the transformer to each light fixture. The lights can be connected in parallel or series depending on the layout. Fixtures near the transformer should be wired in parallel, while those farther away can be wired in series. Most landscape lighting systems operate on 12V power for safety and efficiency.
Building a Garden Path
A beautiful garden path can help guide visitors through your garden space while adding visual interest. When planning a DIY garden path, the first step is deciding on materials. Popular options include:
- Pavers – Available in a variety of materials like stone, concrete, or brick, pavers allow you to create intricate patterns and are durable for foot traffic. Prepare a 4-6 inch gravel base before laying pavers on sand or mortar for stability (1).
- Gravel – An affordable material that’s easy to work with, gravel comes in various sizes and colors to suit your style. For best results, dig out and level your path, put down landscape fabric, and cover with 3-4 inches of gravel (2).
- Bricks – Classic and charming, bricks can be laid in different patterns like herringbone. Set bricks on a sand base after removing sod and leveling the soil beneath (1).
When laying out your garden path, consider sight lines through the garden, how wide it should be for functionality, and meandering curves or straight angles. Take time to set edging on both sides of the path to keep the edges tidy. Mulching after install will finish it off beautifully.
With the right materials, base preparation, and layout, you can create a stunning garden path to enjoy for years to come.
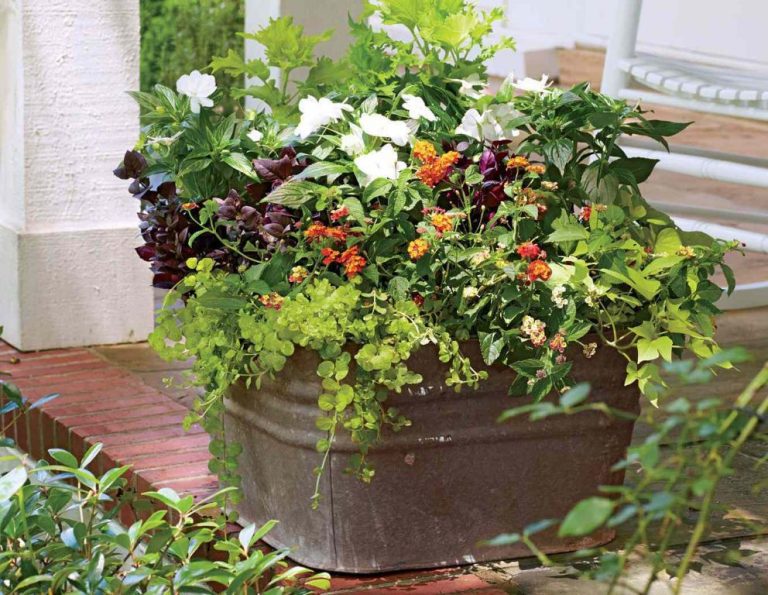
Adding Container Gardens
Container gardening is a great way to grow plants, herbs, and vegetables in small spaces (The Ultimate Guide to Container Gardening, https://www.whiteflowerfarm.com/container-gardening-guide). Choosing the right plants is key for a successful container garden.
Some of the best plants for containers include leafy greens like lettuce, spinach, and kale which don’t require much depth. Herbs like basil, thyme, oregano, chives, and rosemary also thrive in containers. For vegetables, tomatoes, peppers, eggplant, carrots, radish, beans, cucumbers, and zucchini can all be grown successfully in pots (Container Vegetable Gardening for Beginners, https://www.almanac.com/content/container-gardening-vegetables).
When selecting containers, make sure to pick ones with drainage holes to prevent water-logging. Plastic, ceramic, wood, and metal pots all work well. Match the size of the container to the plant’s expected mature size. Bigger vegetables like tomatoes need at least a 5-gallon container.
Place container gardens in a spot that receives at least 6 hours of direct sun daily. Clustering pots together can help maximize space. Raise containers up on feet or bricks to improve drainage.
Water container plants frequently, sometimes daily in hot weather. Adding a layer of mulch on top of the soil can help retain moisture. Container plants depend completely on you for their water needs.
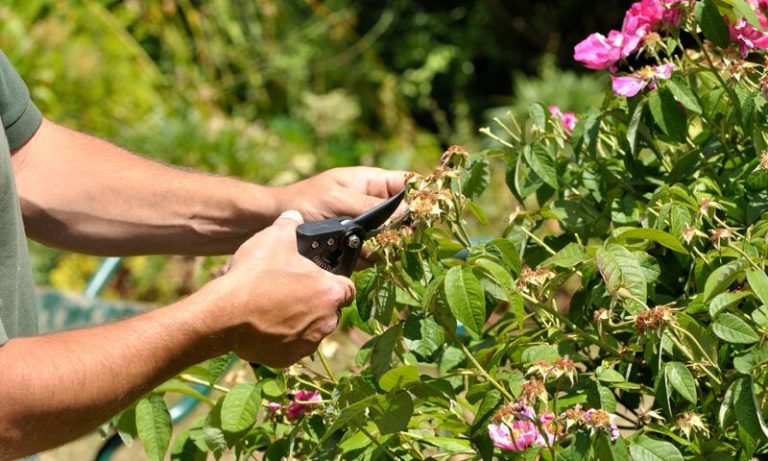
Installing a Trellis
Trellises provide excellent support for climbing plants like vines, roses, and clematis. They allow the plants to grow upright rather than sprawl on the ground. Trellises can be constructed out of different materials but are commonly made from wood or metal framing with open lattice panels for the plants to climb.
Cedar, redwood, or pressure-treated pine boards work well for the trellis frame since they resist rot. The frame consists of vertical posts secured in the ground with either deck blocks or concrete for stability. Horizontal cross bars connect the posts together at the top and bottom. For a freestanding trellis, the frame requires diagonal cross braces for extra strength.
The most affordable option for the lattice is welded wire fencing or concrete reinforcing mesh (remesh) panels. These come in various sizes and can be cut to fit the frame. For a more decorative look, prebuilt garden trellis panels made of wood or plastic lattice can be used instead (Source).
To construct a simple leaning trellis, two posts are inserted at an angle into the ground 1-2 feet apart. The lattice panel is wired to the posts, creating an A-frame design perfect for climbing vines and pole beans. Arbors and archways can be built using the same principles but with taller posts and lattice panels on both sides.
Install the trellis in a sunny location before planting vines. Position climbing roses, clematis, beans, cucumbers, or grapes around the base. As they grow, gently tie and train the stems onto the lattice using plant ties or twine (Source). Add a second panel higher up to accommodate taller vines. A trellis offers beautiful vertical interest and allows gardeners to grow more in a small space.
Creating Garden Art
Garden art is a wonderful way to add personality and visual interest to your outdoor space. You don’t need to be an artist to create beautiful pieces for your garden. There are many simple DIY garden art ideas that can be made from everyday objects and recycled materials. According to Empress of Dirt, some creative garden art projects include sculptures made from wood, decorative mosaics using broken tiles or glass, and fun paintings on garden stones or pots.
For a mosaic project, you can use leftover scraps of tile, broken dishes, marbles, or glass nuggets to form a design on the surface of flower pots or stepping stones, adhering the pieces in place with tile adhesive or concrete. As described in Midwest Living, items like old garden tools, wagon wheels, bicycles, and gate pieces can be repurposed into interesting garden sculptures. Let your imagination guide you in coming up with unique garden art from recycled materials!
Aim to source free or inexpensive supplies for DIY projects. Things like seashells, smooth stones, driftwood, and scraps of wood, metal, or plexiglass can often be found for free or sourced inexpensively. With a little creativity, you can upcycle thrift store or yard sale finds into wonderful garden art too. The process of designing and making garden art can be just as rewarding as having the finished piece on display.
Setting Up Compost Bins
Composting has many benefits for your garden. Adding compost improves soil quality by providing vital nutrients for plants and helps retain moisture in the soil (source). Composting also reduces the need for chemical fertilizers and helps suppress plant diseases and pests. From an environmental standpoint, composting reduces waste and methane emissions from landfills.
When setting up a compost bin, you have several options. You can purchase a ready-made compost bin, build your own compost bin out of materials like wood or wire mesh, or even just make a simple compost pile. Key factors are making sure the bin has adequate airflow and drainage. Bins should be at least 3 feet x 3 feet x 3 feet in size.
Almost all organic materials can be composted, such as leaves, grass clippings, vegetable scraps, coffee grounds, crushed eggshells, and shredded newspaper. Avoid meat, bones, and dairy products, as these can attract pests and rodents. It’s ideal to have a mix of “green” nitrogen-rich materials like fresh grass clippings along with “brown” carbon-rich materials like dried leaves.
To maintain your compost, you’ll need to mix and aerate the pile periodically so that there is enough oxygen for the materials to break down. The compost should feel moist but not soggy. Turning the pile weekly can help speed decomposition. Finished compost will take anywhere from 2 months to 2 years depending on conditions, but is ready when it looks dark, crumbly, and earthy-smelling.
Conclusion
This summer is the perfect time to start improving your outdoor space with fun DIY garden projects. The ideas covered in this article, from building raised beds to installing landscape lighting, offer a great variety of ways to add beauty and function to your yard.
The projects outlined here range in difficulty, so there’s something for gardeners of all skill levels. Easy beginner projects like container gardening allow you to add pops of color and greenery. More advanced endeavors like constructing a water feature create an inviting focal point. The options are endless!
Don’t let the warm summer days slip by without making progress on your dream garden. Choose one or more of these engaging DIY projects and get started. You’ll love spending time outdoors improving your landscape. And you’ll take pride in the gorgeous curb appeal and outdoor living space you created yourself. This summer, make your yard the garden oasis you’ve always imagined.