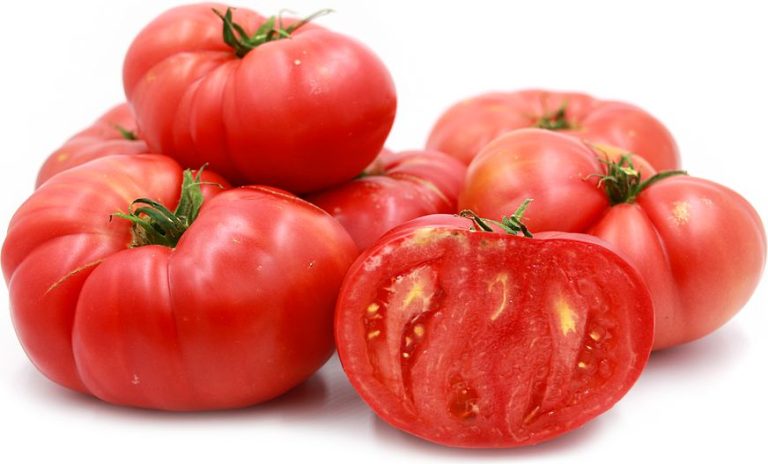
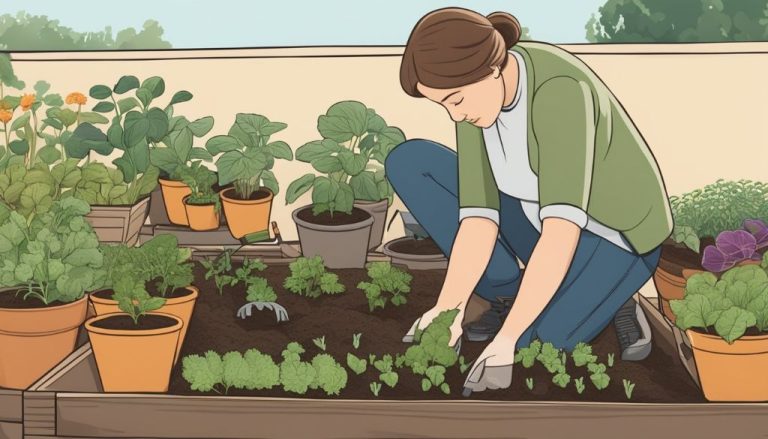
Edible Garden Fertilizing: Tips For Healthy Soil And Productive Plants
Proper fertilization is crucial for having a productive edible garden. Fertilizers provide nutrients that plants need to grow healthy and produce abundant vegetables, herbs, and fruits. Without adequate fertilization, plants may be stunted, wilt easily, have yellowing leaves, or produce poorly. Fertilizing gives plants a nutritional boost, supporting development of foliage, flowers, and edible yields.
Fertilizing also improves soil health over time. Many fertilizers contain organic matter that enriches soil structure and microbial life when incorporated. Good fertility leads to vigorous root systems, helping plants better tolerate drought, pests, and diseases. Applying the right types and amounts of fertilizers for your vegetable garden’s needs results in a bountiful harvest.
Understanding Soil Nutrients
Plants require a variety of nutrients for healthy growth. The three main nutrients plants need are nitrogen, phosphorus, and potassium.
Nitrogen is essential for the growth of leaves and stems, and for the formation of chlorophyll, which gives plants their green color. Plants deficient in nitrogen often appear yellow or light green. Nitrogen promotes vegetative growth and helps plants recover from damage. According to Essential Plant Nutrients from Texas A&M Agrilife Extension (https://agrilifeextension.tamu.edu/library/gardening/essential-nutrients-for-plants/), nitrogen is a component of proteins and nucleic acids which are found in every living cell.
Phosphorus promotes root, flower, and fruit development in plants. It contributes to seed production and plays a vital role in photosynthesis, energy transfer, and nutrient movement within the plant. Phosphorus deficient plants may appear bluish or reddish purple. According to the University of Alabama Extension (https://www.aces.edu/blog/topics/farming/essential-plant-elements/), phosphorus is vital for seed and fruit formation.
Potassium promotes general plant health and disease resistance. It’s important for water regulation, drought tolerance, winter hardiness, and root growth. Plants low in potassium are more prone to disease, insect damage, and cold stress. Potassium contributes to fruit quality and crop yield.
Testing Your Soil
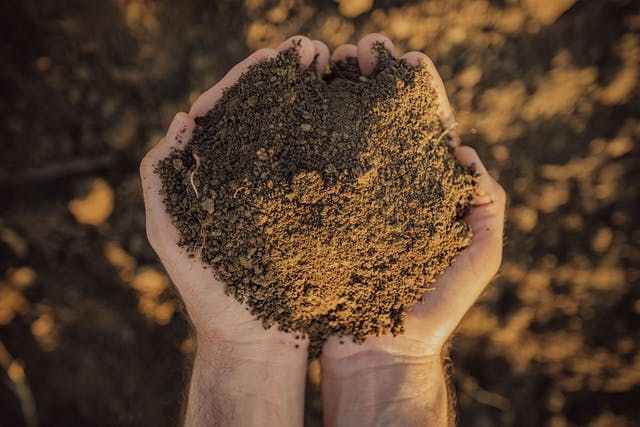
Testing your soil before fertilizing is crucial to understand what nutrients are already present or lacking. This allows you to customize your fertilizer to provide only the nutrients needed, avoiding waste and over-fertilization.
To take a soil sample, use a shovel or soil probe to collect samples from around 6-8 inches deep in the area where plants will grow. Take samples from several spots around the area and mix together. University extension offices, private labs, or at-home test kits can all analyze your soil. At-home tests measure pH, while lab tests also check macronutrients like nitrogen, phosphorus, and potassium. Follow kit instructions for at-home testing, or check with your local extension office on sampling and submitting to their lab. A basic test runs $10-30.
According to the OSU Extension service, proper soil sampling ensures an accurate analysis of your garden’s needs (https://extension.oregonstate.edu/gardening/soil-compost/how-do-i-test-my-garden-soil). The test results will recommend amendments to correct pH and add key nutrients that are deficient in your soil.
Organic vs Chemical Fertilizers
Both organic and chemical fertilizers have their pros and cons. Organic fertilizers like compost, manure, and bone meal release nutrients more slowly over time. Chemical fertilizers are often more concentrated and provide nutrients to plants more quickly. Some key differences:
Pros of organic fertilizers:
- Release nutrients slowly over the growing season
- Improve soil structure and water retention
- Contain a wide range of macro and micronutrients
- Less likely to burn plants or leach into waterways
- Derived from natural renewable resources
Cons of organic fertilizers:
- Lower nutrient analysis than chemical options
- Require more application over time for desired results
- Can be more expensive
- Some, like manure, may contain weed seeds or pathogens
Pros of chemical fertilizers:
- Higher concentrations of nutrients
- Provide quick nourishment to plants
- More affordable in many cases
- Nutrient ratios can be customized as needed
- Less bulk to transport and spread
Cons of chemical fertilizers:
- Can burn plants if over-applied
- Do not improve soil structure or microbial life
- Higher risk of leaching and water pollution
- Repeated use can damage soil over time
- Derived from nonrenewable resources
Most gardeners use a combination of organic and chemical fertilizers to maximize plant growth while supporting soil health. Slow-release organic fertilizers serve as the foundation, while chemical fertilizers provide an extra boost as needed.
Best Organic Fertilizers
When it comes to feeding your vegetable garden, organic fertilizers are a natural way to provide nutrients to your plants without chemicals. Some of the best organic fertilizers include:
Compost
Compost is one of the best all-purpose organic fertilizers you can use. It provides a slow, steady release of nitrogen, phosphorous, and trace minerals to your soil. Compost improves soil texture and increases microbial life and earthworm activity in the soil. Make your own compost or purchase bags of compost to mix into your vegetable beds each season.
Manure
Manure from cows, chickens, horses, sheep, and other livestock provides an excellent source of nutrients for your vegetable garden. Make sure manure has been aged at least 6 months before applying, as fresh manure can burn plants. Mix aged manure into garden beds before planting. Steer or rabbit manure tend to be highest in nutrients.
Bone and Blood Meal
Bone meal provides a hefty dose of phosphorus, which helps with root growth and flowering. Blood meal is high in nitrogen to stimulate leafy growth. Use no more than 1 cup per 10 square feet and mix into soil prior to planting. These can also be used to top dress plants later in the season. Source
Worm Castings
Worm castings (poop) collected from vermicomposting bins contain lots of nutrients and beneficial microbes. Mix worm castings into seed starting soil, use it to top dress transplants, or add it to vegetable beds. Worm castings have high nitrogen levels to encourage healthy greens.
Best Chemical Fertilizers
Chemical or synthetic fertilizers can provide plants with a quick boost of essential nutrients. Some of the most effective chemical fertilizers for edible gardens include:
Ammonium sulfate – Provides a readily available source of nitrogen. Best for leafy greens like lettuce and spinach. Helps plants develop lush foliage.[1]
Superphosphate – High in phosphorus to encourage flowering and fruiting. Great for tomatoes, peppers, eggplants, and beans. Promotes strong root growth.[2]
Potassium sulfate – Supplies potassium which aids in disease resistance. Ideal for plants prone to fungal issues like tomatoes and squash. Also boosts taste.[3]
Balanced fertilizers (10-10-10 or 5-10-5) – Provide an equal ratio of nitrogen, phosphorus, and potassium. Versatile for all garden plants. Release nutrients steadily over time.[1]
Always follow label instructions carefully when applying chemical fertilizers. Use sparingly and supplement with organic matter like compost.
[1] https://www.bhg.com/vegetable-garden-fertilizer-7506794
[2] https://gardenerspath.com/plants/vegetables/best-vegetable-fertilizers/
[3] https://www.homesandgardens.com/gardens/best-fertilizers-for-a-vegetable-garden
When to Fertilize
Fertilizing at the right times is key to having a productive vegetable garden. Here are some tips on the ideal fertilization schedule:
Spring – Early spring just before planting is a great time to work compost or other organic matter into your garden beds. This gives plants a nutritional boost as they start growing. You can also apply a balanced granular fertilizer when you first plant seeds or transplants, following package directions for amounts.
Mid to late spring after plants are established, side dress growing plants with a nitrogen-rich fertilizer like fish emulsion or compost tea. This fuels vigorous growth through the summer.
Summer – During the active growing season, you can apply a balanced liquid fertilizer every 2-4 weeks according to product instructions. Look for signs like yellowing leaves or stunted plants to know when plants need a nutrient boost.
Fall – As plants start maturing in late summer to fall, reduce high-nitrogen fertilizers which can inhibit fruiting and flavor. Continue using compost and organic matter to feed soil life.
Follow fertilizer package directions carefully, as over-fertilizing can harm plants. Your specific schedule will depend on your climate and what you are growing. Paying close attention to your plants is the best way to know what they need and when.
How to Fertilize
There are several techniques for applying fertilizer to an edible garden:
Broadcast spreading: Uniformly scatter fertilizer over the entire garden bed before planting. Gently rake it into the top few inches of soil. This method is quick and easy but can lead to losses from leaching by rain or watering. It’s best for pre-plant fertilization.[1]
Side dressing: Place fertilizer a few inches to the side of plants and slightly below soil level. Gently mix into soil and water in well. This targets fertilizer to plant roots as they grow. It’s good for boosting nutrients during the growing season.
Foliar feeding: Dilute water-soluble fertilizer per label instructions and spray directly onto plant leaves. Nutrients are absorbed quickly through the foliage. Use this for micronutrients or fast-acting boosts.
Fertigation: Inject soluble fertilizer into irrigation water. This provides regular small doses of nutrients with each watering. It requires specific equipment but is very efficient.
Choose fertilization methods based on crop needs, soil type, and application equipment available. Combining techniques can improve nutrient availability throughout the growing season.
[1] https://agritech.tnau.ac.in/agriculture/agri_nutrientmgt_methodsoffertilizerappln.html
Signs Your Plants Need More Fertilizer
If your plants aren’t getting enough nutrients, they will start to show signs of distress. Here are some of the most common indicators that your plants need fertilizer:
Yellowing leaves: One of the first signs of nutrient deficiency is yellowing, chlorotic leaves. This happens when the plant can’t get enough nitrogen. The oldest, lowest leaves will turn yellow first as the plant pulls mobile nutrients like nitrogen from old growth to fuel new growth.
Stunted growth: Without adequate nutrients, plants won’t reach their expected mature size. Leaves and stems will be abnormally small and spindly. This is a sign that immobile nutrients like phosphorus and potassium are deficient.
Low yields: Lack of fertilizer can drastically reduce yields for fruiting plants like tomatoes, peppers, and squash. The plant is focused on survival rather than production when nutrients are scarce, so you’ll get very little produce.
Pay attention to when and where symptoms show up, as that provides clues to which nutrients are needed. It’s better to fertilize before damage occurs, but these visible signs can indicate it’s time to give your plants a nutrient boost.
Avoiding Fertilizer Burn
Applying too much fertilizer can result in fertilizer burn, which causes grass blades to turn brown or yellow. This happens when the salts in fertilizers build up to excessive levels in the soil. Fertilizer burn can occur when too much fertilizer is applied at one time or when multiple applications are made too close together. The best way to avoid fertilizer burn is to carefully follow the label instructions for application rates and frequency.
If fertilizer burn does occur, there are steps you can take to remedy it:
- Lightly water the lawn to help wash away excess fertilizer salts. Do not overwater, as this can make the problem worse. Frequent, light watering is best.
- Consider applying a high-quality compost or topsoil to dilute the fertilizer concentration.
- The turf should recover in 2-4 weeks as new grass blades grow in. Avoid applying more fertilizer during this time.
- In severe cases, you may need to reseed or resod burnt patches where turf has died.
To prevent fertilizer burn in the future:
- Carefully measure and apply fertilizer according to label rates.
- Opt for slow-release fertilizers, which offer a more gradual nutrient release.
- Avoid spreading fertilizer on hot, dry, or windy days when the granules can scatter.
- Consider split applications, spreading the total amount over 2-3 applications instead of one heavy application.
Proper fertilization techniques will keep your lawn lush and green while avoiding the damaging effects of fertilizer burn.