Organic Seed Saving: Preserving Biodiversity In Your Garden
Organic seed saving is the practice of collecting and preserving seeds from open-pollinated plants grown without synthetic pesticides or fertilizers. The seeds are saved and replanted the next year to grow new crops. Organic seed saving allows gardeners to develop regionally adapted varieties over time while maintaining genetic biodiversity.
Seed saving is important because it provides food security, preserves genetic diversity, builds local resilience, and protects our food culture. Heirloom varieties, filled with unique flavors and stories, only continue to exist because gardeners save the seeds year after year. Seed saving gives power back to small farmers and home gardeners and reduces reliance on corporations that control the commercial seed trade.
Benefits of Seed Saving
Seed saving provides several important benefits. First, it helps maintain biodiversity in plants by propagating heirloom and open-pollinated varieties that may not be commercially available (MSU). Heirloom seeds often have superior flavor and unique characteristics not found in hybrids. Saving seeds preserves these varieties for future generations.
Additionally, seed saving can save money compared to purchasing new seeds every year (Civil Eats). With proper storage techniques, most seeds remain viable for several years, providing a free source of plants year after year. This allows gardeners to expand their collection of plant varieties without spending more.
Finally, seed saving passes down plants that are culturally or regionally significant. Heirloom varieties connect gardeners to the history and stories of previous generations who cultivated those seeds. Saving and sharing these seeds keeps plant heritage alive.
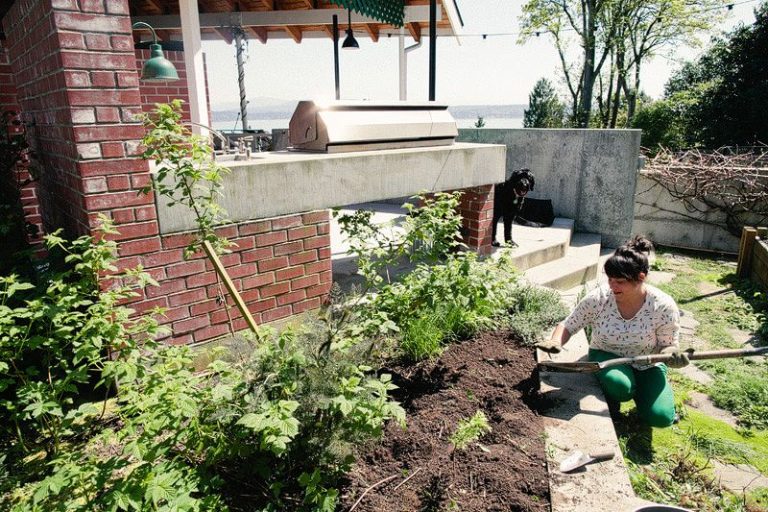
How to Get Started
The first step to seed saving is selecting open-pollinated varieties to grow. Open-pollinated seeds produce plants that are genetically identical to the parent plant, allowing you to reliably save the seeds for planting the following year (“Seed Saving – SeedSavers”, 2022). Avoid hybrid varieties, which do not produce true copies.
It’s critical to let plants fully mature before collecting seeds. Seeds should be harvested once they are completely dry on the plant. For vegetables like beans, lettuce, and peppers, this means letting them stay on the plant well past the eating stage. For flowers, wait until blooms are spent and seed heads are dry. Rushing the process can lead to poor germination rates or weak plants the following season.
Only save seeds from your healthiest, most vigorous plants. Look for ones that are pest and disease free with desired traits like size, flavor, color, etc. Weak or diseased plants tend to pass on inferior qualities (“A Complete Guide to Seed Saving”, 2021). Start with your best performing plants.
Collecting Seeds
When collecting seeds from your garden, timing is key. Seeds should be harvested once they have fully ripened but before they disperse naturally. For plants like lettuce and beans, this means waiting until the fruits or pods have started to dry and crack open. With flowers, look for fading blooms and drying seed heads. In general, seeds are ready to collect when they easily separate from the plant.1
Use the following techniques to gather different types of seeds:2
- For pods and capsules, collect them when dry and brittle. Break them open and remove the seeds.
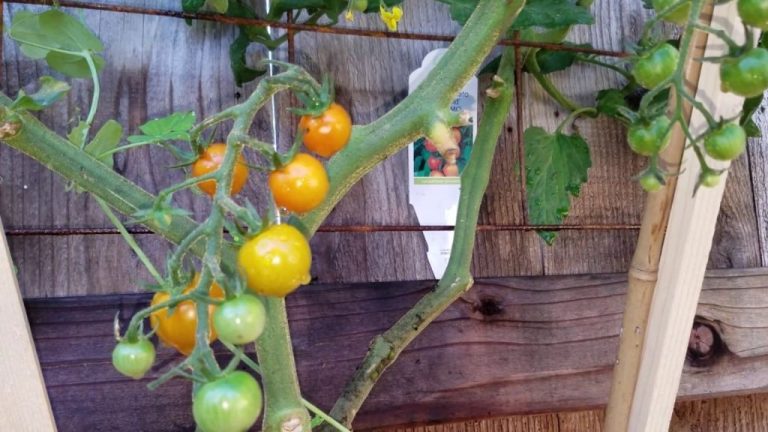
- Allow fleshy fruits like tomatoes to fully ripen. Scoop out the seeds and pulp, rinse off debris, and dry.
- Snip off flower heads when petals start to fade. Hang them upside down and gather seeds as they drop.
- Cut off seed stalks from plants like onions. Place in bags to catch falling seeds.
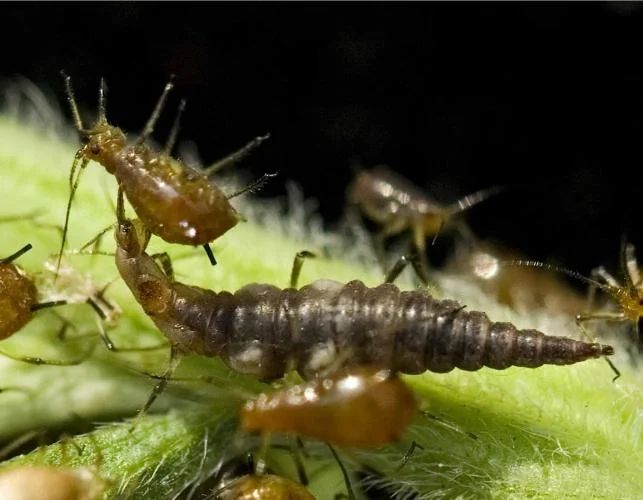
When harvesting, try to collect seeds only from your healthiest, highest yielding plants. This helps pass on good genetics. Avoid diseased or insect-damaged plants. For the largest seed yields, grow plants specifically for seed saving rather than collecting from leftover vegetables or flowers.
Cleaning and Drying Seeds
Properly cleaning and drying seeds is crucial for maintaining viability and preventing mold growth during storage. Here are some key techniques for cleaning and drying seeds:
To clean seeds, remove any debris, pulp, or visible mold from the seed surface. This can be done by hand for large seeds or by placing small seeds in a colander and rinsing thoroughly with water. Allow cleaned seeds to dry fully on a screen or towel before storage. According to the Countryside Network, seeds with a high moisture content can spoil quickly in storage.
There are a few options for drying seeds effectively. Air drying works well for most seeds – spread seeds in a single layer on screens or paper towels and allow 1-2 weeks for thorough drying. The key is ensuring proper airflow around the drying seeds according to Hobby Farms. Gently stir seeds periodically to prevent mold growth. Some people also use food dehydrators on a low setting to speed drying time to just a few days according to Seeds.ca.
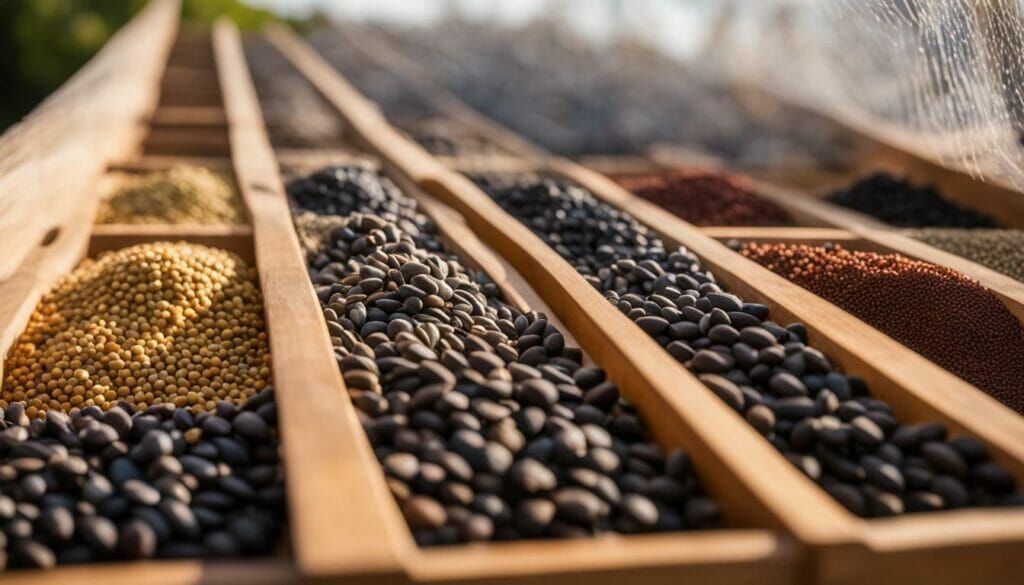
Proper storage is also key. Dried seeds should be stored in air-tight containers in a cool, dry, dark place to maintain viability. Most seeds stored properly remain viable for 2-3 years.
Storing Seeds
Proper storage is crucial for maintaining seed viability over time. Seeds gradually lose vigor and germination ability if not stored correctly. The ideal conditions for storage are cool, dry and dark. Most seeds will last for at least 2-10 years if stored properly.
The most important factor is controlling temperature and humidity. The best temperature for seed storage is between 32-41°F. Refrigerators provide an ideal environment, as long as seeds are kept dry. Make sure seeds are sealed in airtight, moisture-proof containers before refrigerating. Avoid freezing temperatures, which can damage seeds.
Humidity should be kept very low, around 15-20% relative humidity. High humidity encourages mold growth and shortens seed life. Use desiccant packets or silica gel inside storage containers to regulate moisture levels. Make sure lids seal tightly.[1]
Glass jars or plastic containers with airtight lids work well for seed storage. Avoid paper envelopes or bags. Label containers clearly with the seed variety and year harvested. Organize seeds by type and harvest date. Use older seeds first to maximize viability.[2]
Testing Seed Viability
Testing the viability of your saved seeds is an important step before planting them in the garden. There are a few methods you can use to check if your seeds will germinate properly:
One of the most accurate ways is to do a germination test. This involves taking a sample of seeds, placing them on a damp paper towel or planting medium, and observing their germination rate over 7-10 days. Count how many seeds sprout roots and shoots – this percentage will give you an idea of the overall viability of that seed batch. More germination tests can give you a more reliable result (Seed Viability Test, 2015).
When inspecting seeds, indicators that they are still viable include: seeds that are firm and not shriveled, seeds that sink in water (if they float they may not be viable), and seeds that show embryo growth when cut open (University of Vermont Extension, n.d.). Old or nonviable seeds will be discolored, damaged, moldy, or very lightweight.
By testing a sample of your saved seeds, you can determine if the batch is worth planting or if you’ll need to supplement with purchased seeds. This helps prevent disappointment and wasted time and effort in the garden.
Growing From Saved Seeds
When growing plants from your saved seeds, there are a few key steps to ensure success:
Plant seeds at the proper depth according to the seed packet or plant tag. Generally, larger seeds can be planted deeper, while smaller seeds should be closer to the soil surface. For example, bean seeds can be planted 1-2 inches deep, while lettuce seeds should be pressed into the soil surface and lightly covered. According to the University of Minnesota Extension, many seeds germinate best at a soil temperature between 70-95 F.
Thin overcrowded seedlings to the proper spacing once they sprout. This prevents competition for light, water, and nutrients. Refer to the seed packet or plant tag for recommended spacing. Gently pull out extra seedlings, being careful not to disturb the roots of remaining seedlings.
Consider transplanting seedlings started indoors to the garden. Gradually acclimate indoor-started plants to outdoor conditions over 7-10 days. Transplant on a cloudy day or in late afternoon to reduce transplant shock. Dig a hole the depth of the root ball and twice as wide. Carefully place the root ball in the hole and fill in with soil gently around the roots. Water transplants thoroughly.
Common Challenges
While saving seeds can be highly rewarding, there are some common challenges to be aware of:
Preventing cross-pollination is crucial for seed saving success. Different varieties of the same crop can cross-pollinate if planted near each other, resulting in hybrid offspring with mixed traits. Strategies to avoid this include staggering planting times, using physical barriers like row covers, or ensuring adequate spatial separation between varieties. According to Gardenculturemagazine.com, “As a general rule you’ll want to separate crops by at least 1/8 of a mile that readily cross with each other” [1].
Disease and pests can also be problematic. It’s important to select only the healthiest plants from which to save seeds. Any diseases present on the parent plant may be transmitted to next year’s offspring. Likewise, insect damage to developing seeds can render them nonviable. Practicing crop rotation, sanitation practices, and pest control can help minimize threats. According to Homesteadontherange.com, “Saving seeds only from the healthiest plants is key to avoiding seed-borne disease issues.” [2].
Conclusion
Seed saving preserves biodiversity, protects plant heritage, and provides self-reliance for gardeners. By collecting, cleaning, drying, storing, and growing seeds from your home garden, you can propagate the plants you love while safeguarding rare varieties for future generations. Seed saving allows you to control what you grow and provides an abundant, sustainable source of seeds perfectly adapted to your garden’s conditions. The time invested will provide an invaluable reserve of resilient, organic seeds.
With some planning, patience, and care, seed saving can be mastered by any gardener. Start with just a few easy crops like beans, peas, tomatoes or peppers. Learn best practices like proper isolation distances and collecting seeds at peak ripeness. Save seeds in breathable containers and test viability before planting. Before you know it, you’ll have a treasury of seeds allowing you to grow beautiful, productive gardens for years to come. Join the seed saving movement by starting your own collection this season!