Growing Your Own Food: Getting Started With Edible Gardening
Growing your own food at home provides many benefits compared to purchasing produce. Eating homegrown fruits and vegetables can improve health, save money, and provide satisfaction from reaping the rewards of your efforts. Studies show that consuming fruits and vegetables you grow yourself is associated with better nutrition and lower risks of health issues like obesity, heart disease, and diabetes. When you grow your own food, you can control how it’s grown and know exactly where your food is coming from and what’s in it. Homegrown food often has superior taste and nutritional content since it’s fresher and allowed to fully ripen on the vine. You’ll save money by not having to purchase produce at the grocery store. Finally, growing your own food provides the intangible benefits of enjoying nature, getting your hands dirty, and having pride in nurturing plants from seed to harvest.
Assess Your Space
Before starting an edible garden, it’s important to assess the space you have available to determine the best location and size for your garden. Two key factors to consider are the amount of space available and sunlight exposure.
Take measurements of your yard, patio, balcony or any other area you plan to use for gardening. Consider how much space you’ll need for paths between garden beds, and make sure to follow recommended planting distances for the crops you want to grow. For example, vegetables like tomatoes may need at least 2 feet between plants. Herbs and leafy greens can be planted more densely.
Sunlight is critical for growing fruits, vegetables and herbs. Most edible plants need at least 6 hours of direct sunlight per day. Assess sunlight exposure throughout the day to find the sunniest spots. Morning sun is ideal for many plants.
Observe how sunlight reaches different areas of your space. Consider sunlight patterns in spring, summer and fall. Dappled shade under trees may provide enough sunlight in spring but become too shady in summer. Choose a location with optimal sunlight exposure for your region and for the crops you want to grow.
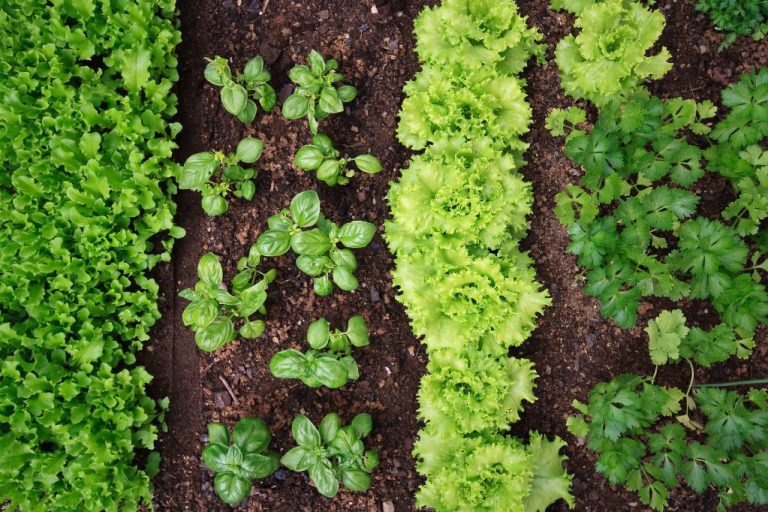
Choose What to Grow
When starting your first edible garden, it’s important to pick crops that are suited to your local climate and the space you have available. Some vegetables that are typically easy for beginners to grow include:
- Lettuce – A quick-growing and versatile leafy green that can be grown in containers. There are many varieties to try including romaine, oakleaf, and butterhead. Source
- Tomatoes – A garden favorite, tomatoes grow well in pots or garden beds with full sun exposure. Choose compact varieties like Early Girl or Cherry tomatoes for containers. Transplants are recommended for beginners. Source
- Beans – Bush or pole green beans produce abundantly. Plant seeds directly in the soil after danger of frost. Provide a trellis for climbing pole beans.
- Radishes – Quick to mature, making them a great early season crop. Direct sow seeds in the garden.
- Peppers – Grow well in containers. Transplants recommended. Choose compact varieties.
Focus on 2-3 crops to start that suit your tastes and space. It’s better to start small and expand as your experience grows.
Prepare the Soil
Testing your soil and making amendments as needed will help optimize nutrition for your plants. Testing kits, available at garden centers, can determine your soil’s pH as well as nitrogen, phosphorus, and potassium levels. It’s recommended to test soil annually.1
Most vegetables grow best in slightly acidic soil with a pH between 6.0-6.8. Adding lime will raise pH, while sulfur can lower pH. Optimal levels for nitrogen, phosphorus and potassium vary by crop; your soil test report will provide amendment guidelines.2
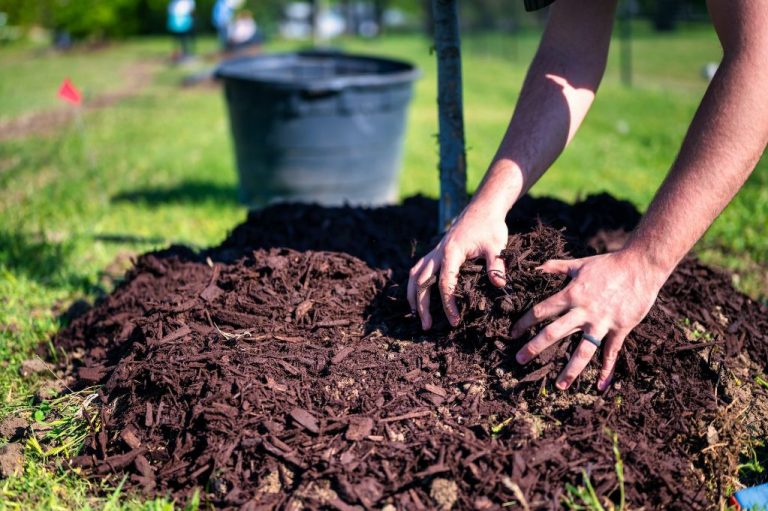
Incorporating 2-4 inches of compost or other organic matter each season will provide nutrients while improving soil structure and moisture retention. Use compost designed for gardens, or make your own compost from yard and kitchen waste. Avoid using composted manure, which can burn plants. Add complete organic fertilizers as needed per soil test results and label directions.
Start Seeds or Buy Transplants
When starting an edible garden, you have two main options for obtaining plants – starting them yourself from seed or purchasing starter plants. Both have their pros and cons.
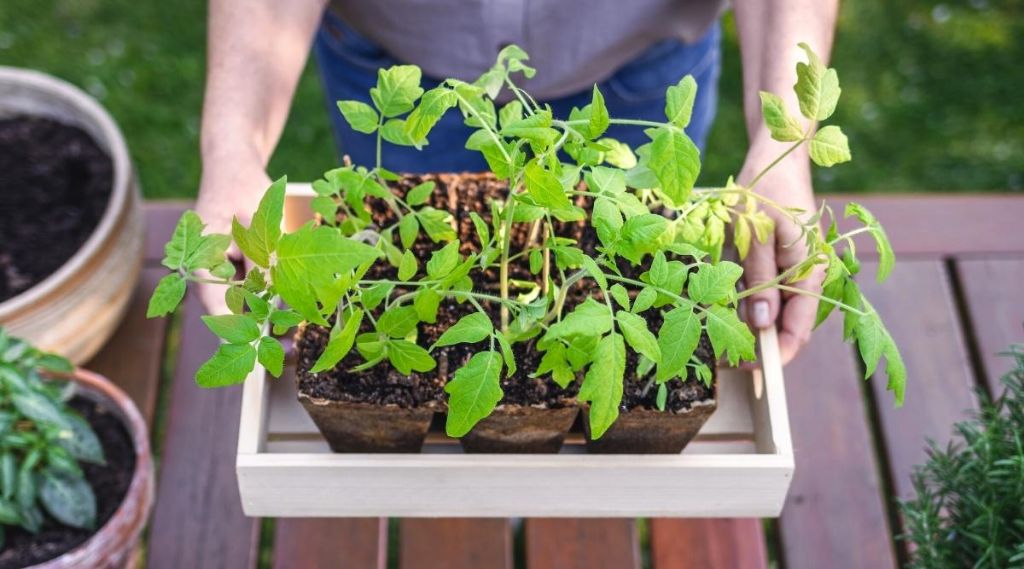
Starting plants from seed gives you more variety and control. You can choose from countless seed varieties and nurture the plants from the very beginning. However, it takes more time and effort. Most vegetable and annual flower seeds take 6-8 weeks to grow large enough to transplant outdoors. This requires starting the seeds indoors and providing consistent moisture, light, and warmth as they germinate and grow. You’ll also need supplies like seed trays, potting mix, fertilizer, and grow lights.
Buying starter plants or transplants from a garden center is quicker and easier. The transplants are ready to plant right away, saving you weeks of growing them yourself. You’ll have access to mature plants that were nurtured by professionals. However, your variety may be more limited. Buying individual plants is also typically more expensive than purchasing packets of seeds. A single transplant can cost as much as a packet of 200 seeds.
For new gardeners short on time, purchasing a few transplants of your favorite veggies or flowers may be the way to go. You’ll be able to enjoy homegrown produce and blooms sooner. As your skills advance, try your hand at starting more plants from seed.
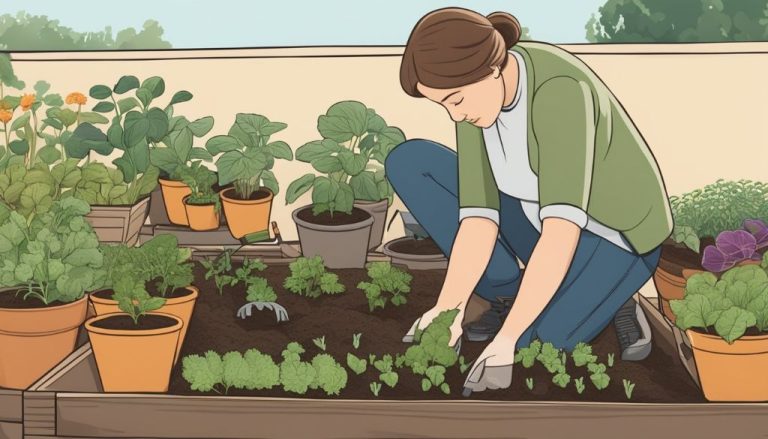
Plant the Garden
Once your soil is prepared and you have your seeds or seedlings ready, it’s time to get planting. Follow these tips for getting your vegetables in the ground:
For planting seeds, follow the package directions for planting depth and spacing. Generally seeds should be planted at a depth of 2-3 times their size. Space the seeds according to the final spacing needed for the mature plants. Some good spacing guidelines are:
- Bush beans – 4 inches apart (Source)
- Leaf lettuce – 6 inches apart (Source)
- Tomatoes – 18-24 inches apart (Source)
For transplanting seedlings, carefully dig holes for each plant, keeping the spacing guidelines in mind. Gently place each plant in its hole, filling in soil around the roots and watering well after planting.
Proper spacing will ensure your plants have enough room to grow and thrive. Pay close attention to the final mature size of each type of vegetable you are planting.
Watering and Mulching
Proper watering is crucial for a productive vegetable garden. Here are some best practices for watering:
- Water early in the morning to allow the water to soak deeply into the soil and reduce evaporation loss. Avoid overhead watering late in the day.
- Water deeply and infrequently, about 1-2 inches per week. This encourages deeper root growth.
- Use drip irrigation or soaker hoses to target the soil and avoid wetting the leaves, which can promote disease.
- Check the soil moisture before watering. Dig down 2-3 inches to see if it is dry. Don’t water on a set schedule.
- Adjust watering based on weather, plant size, and soil type. Sandy soils require more frequent watering than clay soils.
Applying mulch in your vegetable garden provides many benefits:
- Mulch helps retain soil moisture so you don’t have to water as frequently. It also reduces water evaporation from the soil (source).
- Mulch suppresses weeds that compete with vegetables for water and nutrients (source).
- It moderates soil temperature, keeping roots cooler in summer and preventing frost damage in winter.
- As organic mulches like bark or leaves break down, they improve soil structure and provide nutrients.
Apply 2-3 inches of organic mulch like shredded leaves, straw, or compost around plants. Leave a gap near stems to prevent rot. Replenish mulch as needed.
Ongoing Care
Maintaining your vegetable garden is crucial for healthy plant growth and maximum harvests. Be observant and proactive with garden care all season long.
Weeds compete with vegetable plants for water, nutrients and sunlight. It’s important to stay on top of weeding and pull weeds as soon as you spot them. Use a hoe, cultivator or your hands to remove weeds. Mulching helps suppress weed growth. Refer to 7 Smart Vegetable Garden Care Tips for weeding tips.
Vegetables are heavy feeders and need consistent nutrition. Use a balanced organic vegetable fertilizer or compost to feed plants throughout the growing season. Fertilize every 2-4 weeks according to package instructions. Proper fertilization will promote plant health.
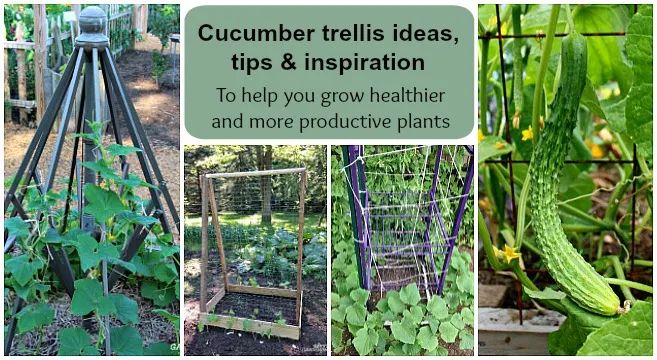
Some vegetables like tomatoes, beans and cucumbers need to be staked or trellised as they grow. Install stakes or trellises at planting or soon after. Gently tie plants to supports to encourage upward growth and prevent fruit from touching the ground. Refer to Maintaining a Vegetable Garden for staking tips.
Keep a close eye on plants for signs of pest or disease issues. Address problems right away to prevent spreading. Know the common pests and diseases for vegetables you are growing. Remove heavily infested plants if needed. Focus on prevention through proper care and maintenance.
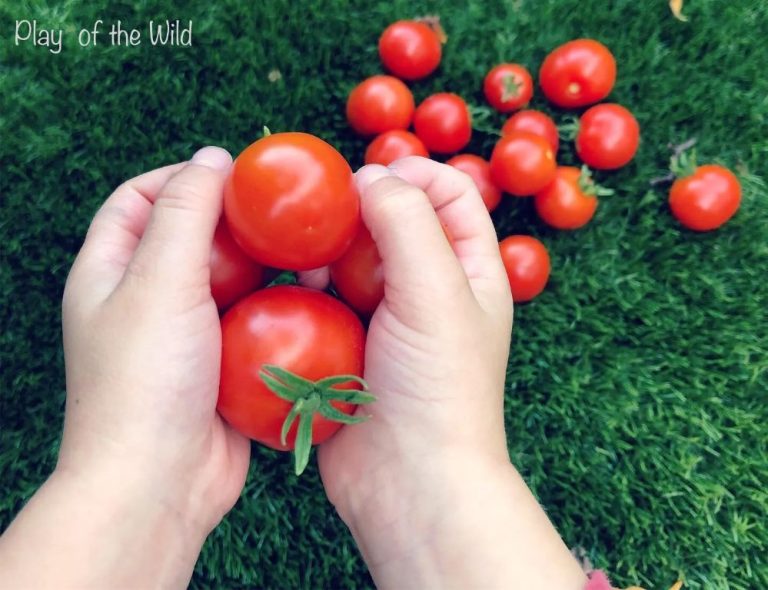
Harvest Time
Knowing when fruits and vegetables are ripe for harvesting is key for getting the best flavor and quality from your edible garden. Different crops have different signs of ripeness – some signal they’re ready by color changes or feeling firm and heavy for their size. Leafy greens and herbs can be harvested as soon as they reach desired size. Root crops like carrots and potatoes can be dug up when the tops begin to yellow and die back (https://hgic.clemson.edu/factsheet/harvesting-vegetables/).
Use clean, sharp tools to cut vegetables from the plant instead of pulling or tugging to avoid damaging plants. Harvest in the morning when plants are coolest and crispest. Handle produce gently to avoid bruising. Once harvested, sort through and discard any damaged or overripe produce, then store properly based on type – fridge for leafy greens and berries, counter for tomatoes and peppers, root cellar for potatoes and carrots (https://piedmontmastergardeners.org/article/guidelines-for-harvesting-vegetables/).
Preserve abundance for later by canning, freezing, or dehydrating. With planning ahead for succession plantings, you can continue harvesting different crops through the season.
Planning Ahead
Consider crop rotation from season to season. Crop rotation provides several benefits that can improve the health and yields of your garden. By rotating the location of certain plants each year, you can help replenish nutrients, reduce disease and pests, and improve soil structure over time. According to the USDA, crop rotation helps “manage your soil and fertility, reduce erosion, improve your soil’s health, and increase nutrients available for crops.”
Some key considerations when planning your crop rotation:
- Don’t plant the same crops from the same plant families in the same spot year after year. Rotate by plant family.
- Plan a 3-4 year rotation to get the full benefits. Rotate by groups like tomatoes/peppers, leafy greens, root crops, legumes, etc.
- Plant heavy feeders (like corn and squash) after soil builders (like peas and beans).
- Help deter pests and disease by not repeating the same plant in the same spot.
Take notes for improvements next year. As you tend your garden through the season, observe what worked well and what didn’t. Jot down ideas such as:
- Certain crops that had a particularly good or bad yield.
- Areas that were overly wet, shady, compacted soil, dried out quickly, etc.
- Pests and diseases to watch out for next season.
- New varieties you want to try.
- Ways to improve your soil for the next rotation.
Use these notes to help plan an even more successful garden for next year.